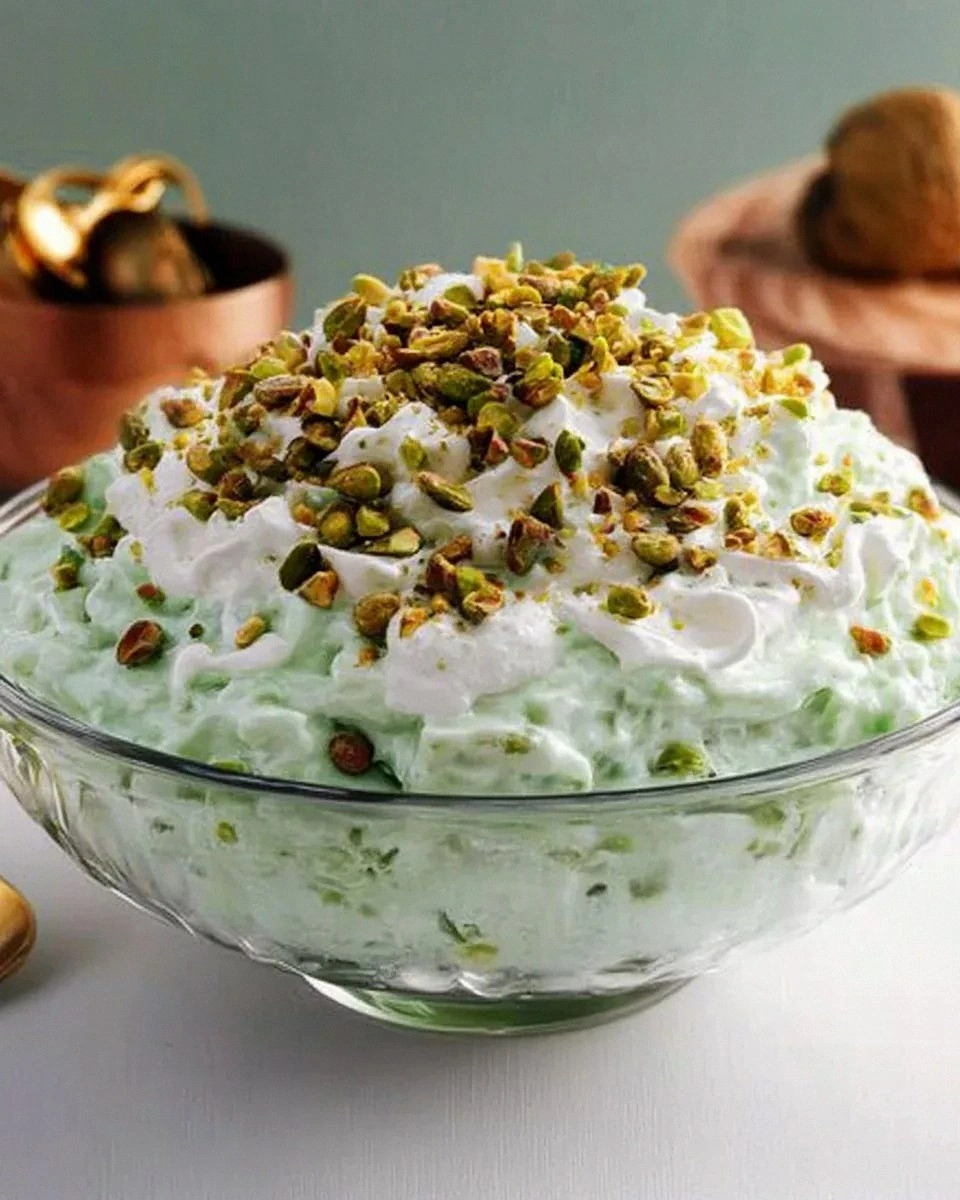
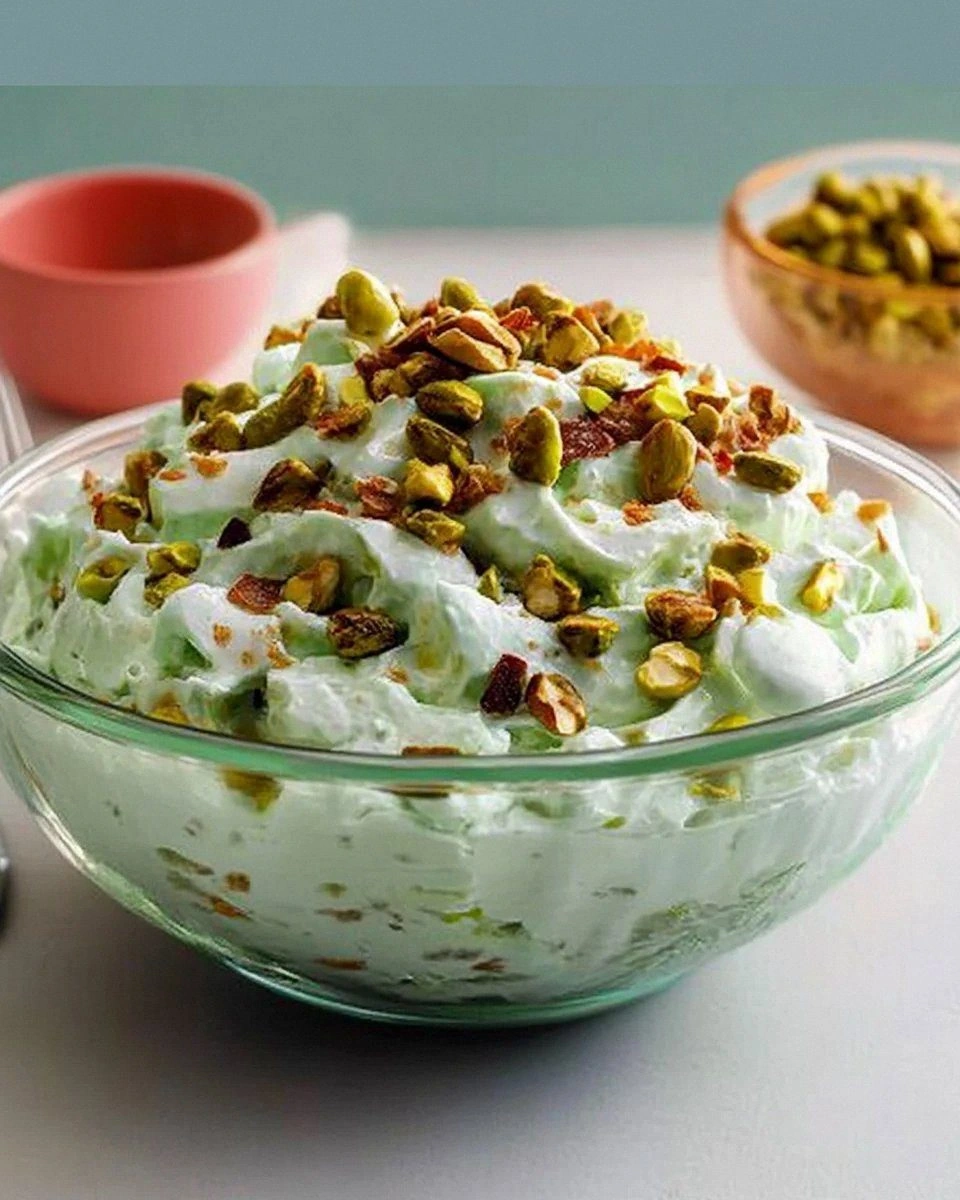
I was standing in my kitchen, half‑asleep, when my roommate dared me to turn a boring box of store‑bought marshmallows into something that would make our whole building smell like a boutique pastry shop. I laughed, I scoffed, and then I grabbed a carton of whipped topping, a can of sweetened condensed milk, and a handful of pistachios that had been hiding in the pantry for months. The result? A glossy, emerald‑green cloud that tasted like nostalgia wrapped in a buttery dream. I’m not exaggerating when I say that the first bite felt like stepping back into a Sunday afternoon when grandma would pull out that mysterious “special” dessert, and everyone would crowd around the table, eyes wide, mouths watering.
Picture this: the kitchen humming with the low whirr of the mixer, the sweet aroma of caramelized sugar flirting with the earthy perfume of pistachios, and a faint, almost electric, hint of green food coloring that makes the whole thing look like a spring meadow in a glass bowl. The sound of miniature marshmallows popping as they melt into a silky matrix is the kind of soundtrack that makes you forget about the world outside. You feel the cool metal of the mixing bowl against your palm, the slight resistance as you fold in the whipped topping, and the gentle weight of the pistachio shards that add a satisfying crunch. Every sense is on high alert, and you know you’re about to create something unforgettable.
Most recipes for “pistachio cloud” or “green dream dessert” get this completely wrong. They either drown the pistachios in an overwhelming sugar rush or they skip the crucial step of stabilizing the whipped topping, leaving you with a soupy mess that looks sad on a plate. This version stands out because it balances the airy lightness of marshmallows with the buttery richness of a condensed milk base, all while keeping the pistachio flavor front‑and‑center. The secret? A splash of green food coloring that doesn’t just color the dessert but also subtly enhances the flavor profile, making the pistachios taste even brighter.
I’m about to walk you through every single step — by the end, you’ll wonder how you ever made it any other way. I dare you to taste this and not go back for seconds. Okay, ready for the game‑changer?
What Makes This Version Stand Out
- Flavor: The pistachio‑infused base sings with a buttery, nutty note that never gets lost under the sweet marshmallow cloud.
- Texture: A perfect marriage of airy marshmallow fluff and a faint, crunchy pistachio bite that shatters like thin ice on the tongue.
- Simplicity: Only seven ingredients, all pantry‑friendly, and you don’t need any fancy equipment beyond a whisk and a baking dish.
- Uniqueness: The green hue isn’t just for show; the food coloring interacts with the pistachios to amplify their natural flavor.
- Crowd Reaction: Guests will gasp, ask for the recipe, and likely claim it’s the best dessert they’ve ever tasted.
- Ingredient Quality: Using real pistachios (or walnuts if you’re feeling adventurous) gives a depth that artificial extracts can’t match.
- Cooking Method: No oven required; the gentle heat of the stovetop and the power of the whisk do all the heavy lifting.
- Make‑Ahead Potential: This dessert can sit in the fridge for up to two days, getting even more cohesive as the flavors meld.
Inside the Ingredient List
The Flavor Base
The 1 can of sweetened condensed milk is the heart of this dessert. Its thick, caramel‑like consistency provides the sweet backbone that binds the marshmallows and whipped topping together. If you skip it, you’ll end up with a fluffy mess that lacks any real body. For a lower‑sugar version, you can substitute with a homemade reduced‑sugar condensed milk, but be prepared for a slightly thinner texture.
The Texture Crew
The 3 cups miniature marshmallows are the airy component that gives this dish its dream‑like quality. As they melt, they create a velvety matrix that holds the pistachio shards in place. If you accidentally use regular marshmallows, the texture will be too dense and the dessert will lose its lightness. Pro tip: toast the marshmallows lightly over a low flame for an extra caramelized note.
The Unexpected Star
The 6 to 7 drops green food coloring might sound trivial, but it’s a game‑changer. A tiny amount is enough to transform the entire dessert into a vibrant emerald, making it instantly Instagram‑worthy. If you’re allergic to artificial dyes, a few drops of natural spirulina powder work just as well and add a subtle earthiness.
The Final Flourish
The 1/2 cup chopped pistachios or walnuts adds the crunch that prevents this dessert from becoming a single‑note fluff. The nuts are lightly toasted to bring out their natural oils, creating a buttery crunch that contrasts beautifully with the soft marshmallow cloud. If you’re nut‑allergic, try toasted sunflower seeds for a similar texture without the flavor shift.
The Creamy Cushion
The 1 carton of whipped topping is the stabilizer that keeps everything from collapsing. Its airy structure lifts the entire mixture, ensuring each bite feels like a cloud. Use a full‑fat version for the richest mouthfeel; low‑fat alternatives will make the dessert feel watery.
The Binding Agent
The 1 package of gelatin (or agar‑agar for a vegetarian version) is what locks the mixture into a firm, sliceable form. Without it, the dessert would slide off the plate like a runaway snowball. Dissolve the gelatin in a splash of warm water before adding it to the mixture to avoid clumps.
The Finishing Touch
Additional whipped topping is dolloped on top just before serving, adding a glossy sheen and an extra layer of creaminess. This final flourish is optional but highly recommended; it makes the presentation look restaurant‑grade and adds that “wow” factor.
Everything's prepped? Good. Let's get into the real action…
The Method — Step by Step
First, pour the 1 can of sweetened condensed milk into a medium saucepan. Warm it over low heat, stirring constantly, until it just begins to thicken and emit a faint caramel scent. This should take about 4‑5 minutes; you’ll know it’s ready when the edges start to pull away from the pan. Watch out: do not let it boil, or you’ll scorch the sugars and introduce a bitter note.
Watch Out: If the milk starts to bubble aggressively, remove it from heat immediately and whisk vigorously to prevent curdling.While the milk is warming, set a large mixing bowl in the freezer for at least 10 minutes. This cold environment is crucial for the next step. When you’re ready, pour the 1 carton of whipped topping into the chilled bowl and whisk on medium speed until stiff peaks form. The cold bowl ensures the topping holds its shape, giving you that airy cloud later on.
Kitchen Hack: Add a splash of vanilla extract to the whipped topping while whisking for an extra layer of aroma.In a separate small bowl, dissolve the 1 package of gelatin (or agar‑agar) in ¼ cup of warm water. Stir until completely dissolved, then set aside. This gelatin will be the glue that holds the dessert together, so make sure there are no lumps.
Now, gently fold the 3 cups of miniature marshmallows into the warm condensed milk mixture. As the marshmallows melt, they create a glossy, smooth base. Keep the heat low and stir continuously; you’ll hear a soft sizzle that signals the marshmallows are fully incorporated. The mixture should become a thick, velvety sauce that coats the back of a spoon.
Stir in the dissolved gelatin, making sure it’s evenly distributed. This is the moment of truth — the mixture should begin to thicken slightly, but remain pourable. If it looks too runny, let it sit for another minute; the gelatin will activate as it cools.
Add the 6 to 7 drops of green food coloring. Watch as the pale mixture transforms into a vivid emerald hue, like a fresh spring meadow. The color should be uniform; if you see streaks, whisk a little longer until it’s completely blended.
Fold the whipped topping into the green marshmallow base, using a spatula and a gentle hand. This step is where the dessert gains its cloud‑like texture. The mixture should become light, airy, and slightly glossy. Power transition: This next part? Pure magic.
Finally, sprinkle the 1/2 cup chopped pistachios or walnuts over the top, reserving a small handful for garnish. Give the mixture one last gentle fold to distribute the nuts evenly, then transfer the entire concoction into a shallow serving dish. Smooth the surface with the back of a spoon.
Top the dessert with a generous dollop of additional whipped topping and garnish with the reserved nuts. For an extra touch, drizzle a thin line of melted white chocolate around the edge of the dish. Chill the dessert in the refrigerator for at least 2 hours, allowing it to set firmly.
When you’re ready to serve, cut the dessert into neat squares, dust each piece with a pinch of powdered sugar, and watch as the green glow catches the light. Picture yourself pulling this out of the fridge, the whole kitchen smelling incredible, and your guests’ eyes widening in anticipation.
That's it — you did it. But hold on, I've got a few more tricks that'll take this to another level…
Insider Tricks for Flawless Results
The Temperature Rule Nobody Follows
Never let the condensed milk exceed 140°F (60°C). Once it passes that threshold, the sugars begin to caramelize too aggressively, creating a bitter undertone. I once let it get too hot, and the entire batch tasted like burnt caramel — a disaster that taught me the value of a candy thermometer. Keep the heat low and steady, and you’ll preserve that sweet, buttery flavor.
Why Your Nose Knows Best
Your nose is a more reliable indicator than a timer when it comes to the marshmallow melt. When the mixture starts to emit a buttery, toasted scent, you know it’s ready to be folded with the whipped topping. Trust that aromatic cue; it’s the secret behind my consistently perfect texture.
The 5‑Minute Rest That Changes Everything
After folding in the whipped topping, let the mixture sit for exactly five minutes before adding the nuts. This brief pause allows the gelatin to set just enough to hold the nuts in place without making the dessert too firm. A friend tried skipping this rest once — let's just say the nuts floated to the top and the dessert turned into a mushy mess.
The Nut Toast Trick
Toast the pistachios (or walnuts) in a dry skillet over medium heat for just 2‑3 minutes. You’ll hear a gentle pop, and the nuts will release a fragrant, nutty aroma. This step adds a depth of flavor that raw nuts simply can’t provide, turning a simple garnish into a flavor bomb.
The Secret of the Final Whip
When adding the additional whipped topping at the end, do it in two stages: a thin layer first, then a second generous swirl. This creates a layered look that’s visually stunning and ensures every bite has that creamy finish. It’s a small detail, but it makes the dessert look like it belongs in a high‑end patisserie.
Creative Twists and Variations
This recipe is a playground. Here are some of my favorite ways to switch things up:
Berry Burst
Swap half of the pistachios for a handful of fresh raspberries or blueberries. The tartness of the berries cuts through the sweetness, creating a balanced flavor profile that’s perfect for summer gatherings.
Chocolate Dream
Add 2 tablespoons of cocoa powder to the condensed milk before melting the marshmallows. The result is a deep, chocolate‑infused cloud that pairs beautifully with the pistachio crunch.
Coconut Whisper
Replace the whipped topping with coconut whipped cream and sprinkle toasted coconut flakes on top. This gives the dessert a tropical vibe that’s perfect for a beach‑themed party.
Spiced Elegance
Incorporate a pinch of ground cardamom or cinnamon into the condensed milk mixture. The warm spice adds an unexpected depth that makes the dessert feel cozy yet sophisticated.
Alcohol Infusion
Stir in a tablespoon of amaretto or pistachio liqueur after the marshmallows have melted. The subtle boozy note elevates the dessert to an adult‑only treat, perfect for after‑dinner indulgence.
Storing and Bringing It Back to Life
Fridge Storage
Cover the dessert tightly with plastic wrap and store it in the refrigerator for up to 48 hours. The gelatin will keep it firm, and the flavors will meld, becoming even richer. When you’re ready to serve, let it sit at room temperature for 10 minutes to soften slightly.
Freezer Friendly
If you need to keep it longer, slice the dessert into individual portions, wrap each piece in parchment paper, then place them in an airtight container. Freeze for up to 2 weeks. To reheat, thaw overnight in the fridge, then add a tiny splash of water before microwaving for 20‑30 seconds; the steam will bring it back to its original velvety texture.
Best Reheating Method
For a quick warm‑up, place a slice on a microwave‑safe plate, drizzle a teaspoon of water around the edges, and heat for 15 seconds. The added moisture steams the dessert back to life, giving you that freshly‑made feel without compromising the delicate structure.