Picture this: I’m in the middle of a rainy Sunday, the kind where the clouds look like they’re about to press a button and dump a whole bucket of water on the kitchen floor. I’m standing over a bowl of batter that smells like a sunrise in a citrus orchard, and I’ve just realized I’ve forgotten the one thing that could turn this humble experiment into a masterpiece—fresh ginger. I grabbed the nearest jar, grated a handful, and the kitchen instantly transformed into a bustling street market where orange zest danced with honey like lovers at a summer fair. This moment of frantic improvisation sparked a revelation: I could create a cake that sings with bright orange, hums with spicy ginger, and wraps everything in the golden hug of honey. I dare you to taste this and not go back for seconds.
The first bite is a symphony of flavors that hits every sense at once. The cake’s crumb is so moist it feels like biting into a cloud, while the orange zest provides a zesty pop that awakens your palate like a bright sunrise after a long night. The ginger adds a subtle heat that lingers just long enough to make you smile, and the honey—oh the honey—binds everything together with a natural sweetness that never feels cloying. I’ll be honest — I ate half the batch before anyone else got to try it, and that’s because the aroma alone is a siren call that pulls you into the kitchen every single time you walk by. Most recipes get this completely wrong. Here’s what actually works.
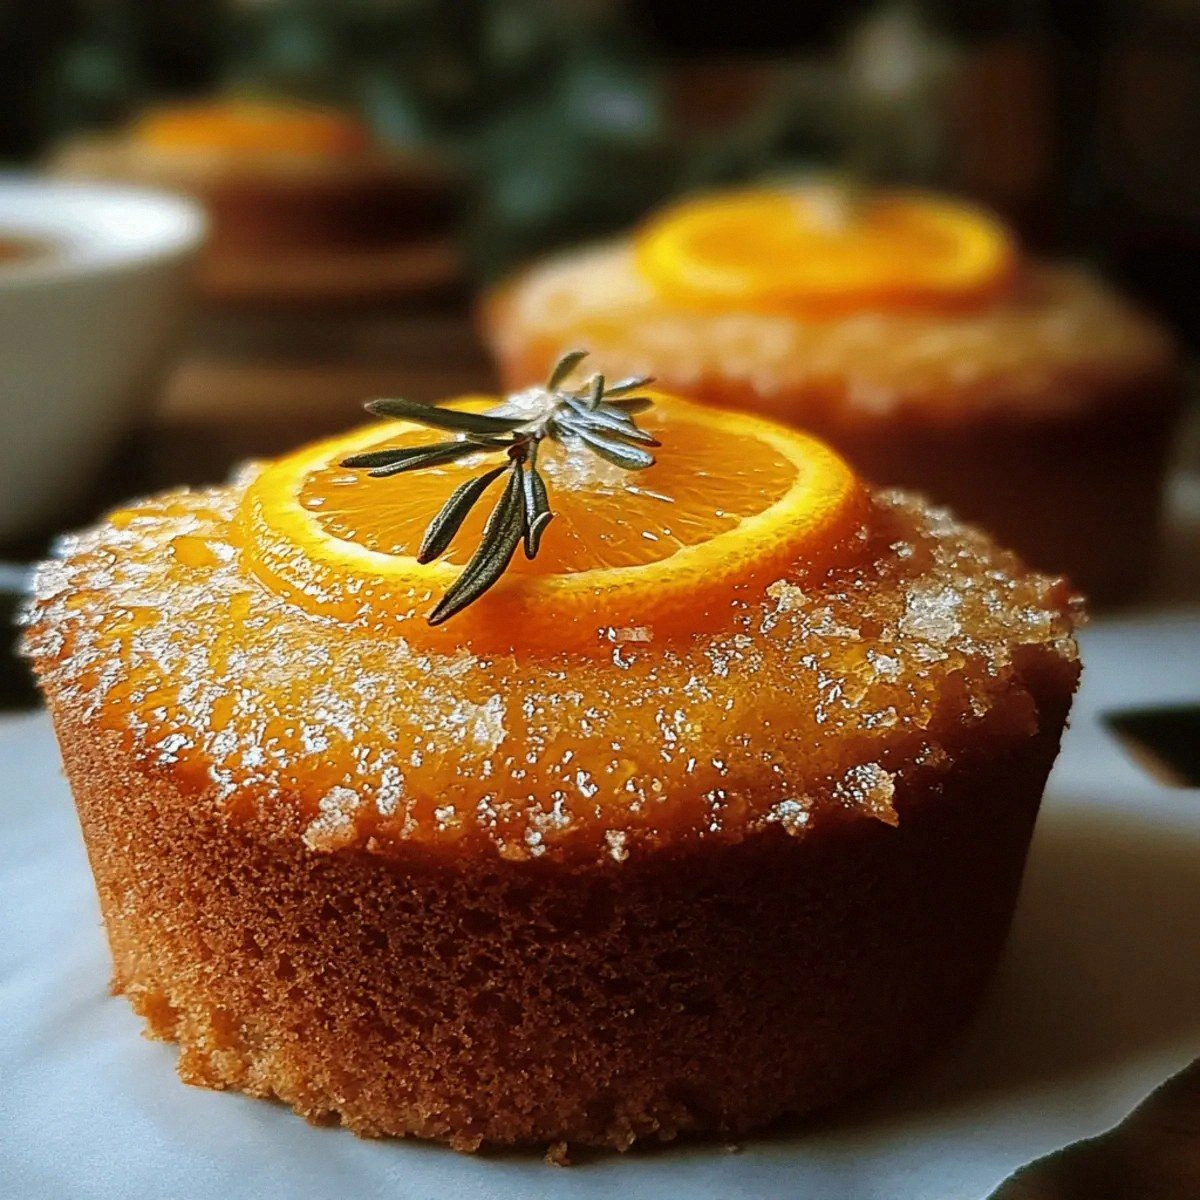
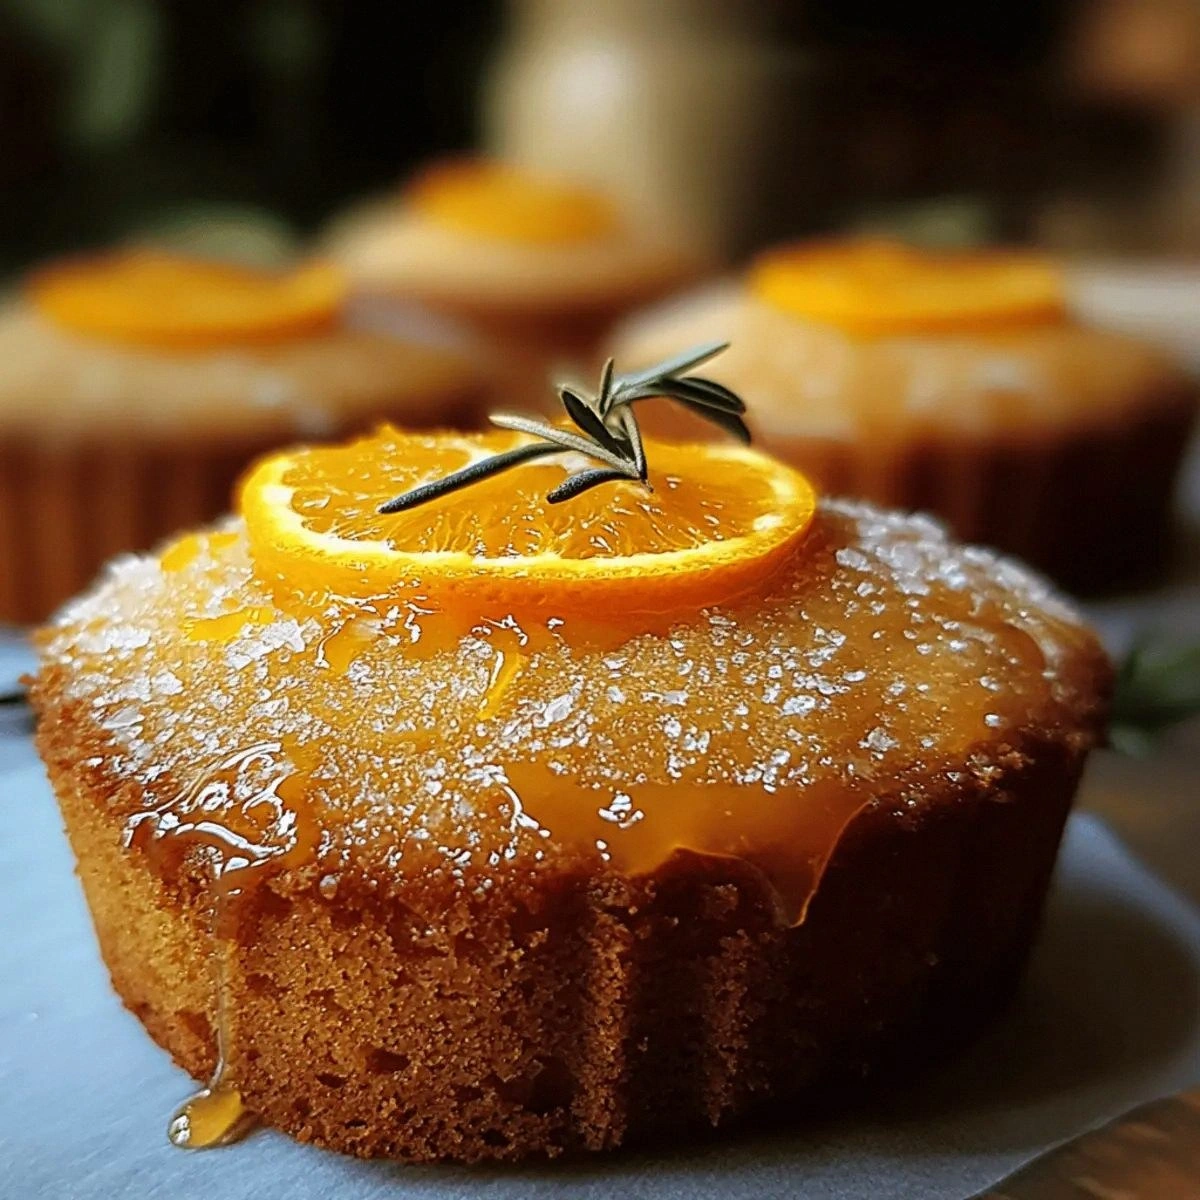
What sets this version apart from the sea of orange‑ginger cake recipes you’ll find online is a simple but game‑changing technique: I fold the wet ingredients into the dry ones using a gentle “ribbon” method, preserving air and creating a tender crumb that stays moist for days. I also double‑dip the batter in honey—once in the mix and once brushed on top before baking—so the crust caramelizes into a glossy, caramel‑kissed crown that crackles like thin ice when you tap it. The secret ingredient is the zest: I zest the orange directly over the batter, letting the essential oils mingle with the ginger, creating an aromatic burst that fills the whole house. Picture yourself pulling this out of the oven, the whole kitchen smelling incredible, the golden tops glistening, and you’re already planning to serve it with a dollop of whipped cream or a drizzle of extra honey.
Okay, ready for the game‑changer? We’re going to use a combination of butter and oil, which gives the cake that buttery richness while the oil keeps it unbelievably tender. This dual‑fat approach is the reason the crumb stays soft even after cooling, and it’s a trick most bakers overlook. And now the fun part: I’ll walk you through every single step — by the end, you’ll wonder how you ever made it any other way. Stay with me here — this is worth it.
What Makes This Version Stand Out
- Flavor Explosion: The combination of fresh orange zest and ginger creates a bright, spicy‑sweet profile that dances on the tongue like a summer festival.
- Moisture Mastery: The double honey infusion and the butter‑oil blend lock in moisture, ensuring each bite is as soft as a cloud.
- Texture Triumph: A light, airy crumb with a caramelized, slightly crisp top gives you the best of both worlds—soft interior, delightful edge.
- Simplicity Meets Sophistication: Only ten core ingredients, yet the result feels like something you’d find in a high‑end patisserie.
- Crowd‑Pleaser: Even the most skeptical sweet‑tooth will be won over; I’ve seen grown‑ups and kids alike line up for seconds.
- Ingredient Quality: Using fresh, high‑quality orange and ginger makes the flavor pop without any artificial boosters.
- Versatile Cooking Method: Works perfectly in a conventional oven, convection, or even a countertop convection toaster‑oven.
- Make‑Ahead Potential: Store it for up to three days, and it actually tastes better as the flavors meld together.
Inside the Ingredient List
The Flavor Base
The star of this cake is the orange. I use the zest of one large orange, which adds a bright, citrusy perfume that lifts the entire batter. If you skip the zest, you’ll lose that fragrant spark, and the cake will taste flat—like a song without a chorus. For the best flavor, choose an organic orange with a thin, bright skin; the oils are concentrated in the outermost layer. If oranges are out of season, a splash of high‑quality orange extract (about a teaspoon) can stand in, but fresh zest is unbeatable.
The Texture Crew
Butter and oil team up to create a crumb that stays soft long after baking. The butter gives richness and flavor, while the oil prevents the cake from drying out. If you’re dairy‑free, swap the butter for an equal amount of coconut oil—just make sure it’s melted and cooled slightly before mixing. The all‑purpose flour provides structure, and the baking powder gives the rise that makes the crumb airy. Skipping the baking powder will result in a dense, heavy cake that never gets that light “ribbon” texture.
The Unexpected Star
Freshly grated ginger adds a warm, spicy undertone that balances the orange’s brightness. It’s the secret that turns a simple orange cake into something unforgettable. If you’re not a fan of fresh ginger, you can substitute 1 teaspoon of ground ginger, but the flavor will be less vibrant. The honey is used twice: a cup in the batter for sweetness and moisture, and a third‑cup glaze brushed on top before baking for caramelization. Using a light, floral honey (like clover) keeps the flavor delicate; a robust buckwheat honey would dominate the palate.
The Final Flourish
Salt is the quiet hero that enhances every other flavor, while the orange juice adds a subtle acidity that balances the honey’s sweetness. The eggs act as the binding agent, giving the cake structure and lift. If you’re looking for a lighter version, you can replace each egg with a “flax egg” (1 tablespoon ground flaxseed + 3 tablespoons water) but expect a slightly denser crumb. The baking powder should be fresh; old leavening agents lose potency and your cake may not rise properly.
Everything's prepped? Good. Let's get into the real action...
The Method — Step by Step
Preheat your oven to 350°F (175°C). While the oven warms up, grease a 9‑inch round cake pan with a thin layer of butter, then dust it with a little flour to prevent sticking. The moment the butter melts into the pan, you’ll hear that faint sizzle that tells you the pan is ready for the batter. This is the moment of truth—don’t rush it, because a well‑prepared pan is the foundation for an even rise.
In a large mixing bowl, whisk together the flour, baking powder, and salt. This dry mix should look uniform, with no clumps—think of it as the canvas for your masterpiece. As you whisk, imagine each grain of flour as a tiny snowflake ready to melt into a perfect snowball of batter. Watch Out: Over‑mixing the dry ingredients can develop gluten, leading to a tough cake.
In a separate bowl, combine the softened butter (or melted butter if you prefer) with the cup of honey. Beat them together with an electric mixer on medium speed until the mixture is light, fluffy, and has a pale golden hue. This process incorporates air, which later translates into that airy crumb we all crave. The kitchen will start to smell like sweet caramel—trust me, that’s a good sign.
Add the eggs, one at a time, to the butter‑honey mixture, beating well after each addition. The batter should become glossy and smooth, and you’ll notice it thickening slightly with each egg. This is where the magic of emulsification happens, binding the fats and liquids together. If you see the mixture start to curdle, keep beating; it will come back together.
Stir in the freshly grated ginger, orange zest, and orange juice. The zest should be added directly over the bowl so the essential oils rain down, creating a fragrant cloud. The orange juice adds a subtle acidity that balances the honey’s sweetness, and the ginger’s heat begins to meld with the citrus. Let the batter sit for a minute; you’ll see tiny bubbles forming as the ginger releases its moisture.
Now comes the crucial folding step: create a well in the center of the dry ingredients and pour the wet mixture into it. Using a rubber spatula, gently fold the batter, turning the bowl over and over, until just combined. The batter should be thick but pourable, with streaks of flour disappearing like clouds on a summer day. Watch Out: Over‑mixing at this stage will develop gluten and ruin the tender crumb.
Before pouring the batter into the prepared pan, brush the top with the remaining 1/3 cup of honey. This glaze will caramelize as the cake bakes, creating a glossy, slightly crisp crown that shimmers like a sunrise. Pour the batter in, smoothing the top with a spatula, and give the pan a gentle tap on the counter to release any large air pockets.
Slide the pan into the preheated oven and bake for 25‑30 minutes. About the 20‑minute mark, open the oven briefly to check the edges; they should start pulling away from the sides, and the top will be a deep golden brown. The aroma at this point is intoxicating—a blend of citrus, spice, and caramel that fills the entire kitchen. When a toothpick inserted into the center comes out clean or with just a few crumbs, the cake is done.
Allow the cake to cool in the pan for 10 minutes, then turn it out onto a wire rack. While it’s still warm, brush a thin layer of the remaining honey over the top for an extra glossy finish. Let it cool completely before slicing; this lets the flavors settle and the crumb set, ensuring each slice is perfect. Finally, serve warm or at room temperature, perhaps with a dollop of whipped cream or a drizzle of extra honey.
That's it — you did it. But hold on, I've got a few more tricks that'll take this to another level...
Insider Tricks for Flawless Results
The Temperature Rule Nobody Follows
Always bring your butter and eggs to room temperature before mixing. Cold butter will create pockets of unmixed fat, leading to uneven texture, while cold eggs can cause the batter to seize. I once tried to speed things up by using butter straight from the fridge; the result was a cake with a dense, gummy crumb that never rose properly. Letting ingredients sit for 30 minutes on the counter ensures they blend seamlessly, giving you that airy, melt‑in‑your‑mouth texture.
Why Your Nose Knows Best
Trust the scent cues more than the clock. When the honey glaze starts to caramelize, you’ll notice a sweet, buttery aroma that turns slightly nutty—this is the perfect moment to peek inside. If you rely solely on the timer, you might over‑bake and lose that delicate crumb. A good nose can tell you when the edges are pulling away and the top has reached that perfect amber hue.
The 5‑Minute Rest That Changes Everything
After removing the cake from the oven, let it rest in the pan for exactly five minutes before turning it out. This short rest allows the steam to finish cooking the interior gently, preventing a soggy bottom and ensuring the crumb stays moist. Skipping this step can cause the cake to collapse or become crumbly when you slice it.
Glaze Timing for Maximum Shine
Brush the final honey glaze while the cake is still warm. The heat activates the honey’s natural sugars, creating a glossy, caramel‑kissed surface that doesn’t harden into a crust. If you wait until the cake is completely cool, the honey will set too quickly and you’ll lose that beautiful sheen.
Flavor Boost with a Pinch of Salt
Even though the recipe already calls for a teaspoon of salt, adding an extra pinch right before the final glaze can amplify the orange‑ginger notes dramatically. Salt is a flavor enhancer; it lifts the bright citrus and balances the sweetness. I once served this cake to a friend who claimed it tasted “flat”—a pinch of extra salt rescued the flavor instantly.
Creative Twists and Variations
This recipe is a playground. Here are some of my favorite ways to switch things up:
Almond‑Orange Fusion
Swap half the all‑purpose flour for almond flour and add a tablespoon of almond extract. The result is a nutty, fragrant cake with a slightly denser crumb that pairs beautifully with the orange zest.
Spiced Pumpkin Twist
Replace the orange juice with an equal amount of pumpkin puree and add a half‑teaspoon of ground cinnamon and nutmeg. This variation is perfect for autumn, delivering a warm, cozy flavor while keeping the ginger’s subtle heat.
Chocolate‑Ginger Surprise
Fold in ¼ cup of dark chocolate chips into the batter before baking. The bittersweet chocolate complements the ginger’s spice, creating a sophisticated flavor contrast that’s perfect for a dinner‑party dessert.
Coconut‑Honey Delight
Substitute the butter with coconut oil and add a tablespoon of shredded coconut to the batter. The tropical twist enhances the honey’s natural floral notes and gives the cake a faint coconut aroma.
Glazed Citrus Drizzle
After the cake cools, drizzle a mixture of orange marmalade and a splash of honey over the top. This adds an extra layer of glossy citrus sweetness and makes the presentation look restaurant‑worthy.
Storing and Bringing It Back to Life
Fridge Storage
Place the cooled cake in an airtight container and store it in the refrigerator for up to three days. The honey acts as a natural preservative, keeping the cake moist. When you’re ready to serve, let it sit at room temperature for 20 minutes or gently warm a slice in the microwave for 15 seconds.
Freezer Friendly
Wrap the cake tightly in plastic wrap, then a layer of aluminum foil, and freeze for up to two months. To reheat, thaw overnight in the fridge, then warm in a 300°F oven for 10‑12 minutes. The honey glaze will re‑crystallize, giving you that fresh‑out‑the‑oven shine.
Best Reheating Method
For the ultimate texture, preheat your oven to 325°F, place a slice on a baking sheet, and cover it loosely with foil. Heat for 5‑7 minutes, then remove the foil for the last minute to let the glaze crisp up. Adding a tiny splash of water (about a teaspoon) to the pan before reheating creates a gentle steam that revives the cake’s moisture.