Ever stand in a kitchen that looks like a crime scene after a cooking show gone rogue and think, “I could totally fix this, but I need a recipe for it”? I did exactly that last month when my roommate decided to test a new flambé technique and set the backsplash on fire. The smoke alarm screamed, the ceiling fan coughed, and suddenly my favorite culinary sanctuary felt more like a war zone. I stared at the charred tiles, inhaled the lingering scent of burnt sugar, and made a bold promise to myself: I would rebuild this kitchen from the ground up, and I’d document every step like a recipe, because why not turn a disaster into a deliciously organized masterpiece?
The moment the smoke cleared, I could hear the faint hiss of the oven cooling down, see the orange glow of the ignited stove, feel the lingering heat on the countertops, and taste the lingering bitterness of burnt caramel on my tongue. My heart was pounding, my mind racing, and the only thing that kept me sane was the rhythmic clatter of my trusty wooden spoon against the mixing bowl. That familiar sound reminded me of the comforting predictability of cooking, even when the kitchen around me was in utter chaos. I realized that the same principles that make a perfect soufflé rise—precision, timing, and a dash of confidence—could also guide a flawless remodel.
What makes this version of a kitchen remodel stand out is that I’m treating every tile, cabinet, and countertop like an ingredient in a gourmet dish. I’m not just slapping on paint and hoping for the best; I’m layering flavors, textures, and aromas to create a space that sings when you walk in, just like the first bite of a perfectly balanced dish. I dared myself to use a secret technique—incorporating reclaimed wood as a “smoke-infused garnish” for the island—and the result? A visual and tactile delight that will make your guests say, “I dare you to taste this and not go back for seconds.” This isn’t just a remodel; it’s the ultimate culinary‑inspired overhaul.
Ready for the game‑changer? I’m about to walk you through each step, from demolition to the final reveal, with the same passion I bring to my most beloved recipes. By the end, you’ll wonder how you ever lived in a kitchen that didn’t feel like a five‑star restaurant. Let me walk you through every single step — by the end, you’ll wonder how you ever made it any other way.
What Makes This Version Stand Out
- Flavorful Foundation: I start with a base of reclaimed brick that adds earthy depth, much like a good stock builds a soup’s backbone.
- Texture Harmony: The juxtaposition of smooth quartz countertops with rough, hand‑hewn wood creates a mouthfeel that’s both comforting and exciting.
- Simplicity Meets Sophistication: Every step is streamlined—no unnecessary gadgets, just the essential tools that any home chef (or DIYer) already owns.
- Unique Garnish: The smoked cedar island top is an unexpected twist that elevates the whole space, akin to a drizzle of truffle oil over risotto.
- Crowd Reaction: Guests have called this remodel “the best version you’ll ever see in a home,” and I’m not exaggerating—people actually linger longer in the kitchen.
- Ingredient Quality: I sourced premium, low‑VOC paints and eco‑friendly cabinets, ensuring the final dish (read: kitchen) is as healthy as it is beautiful.
- Methodical Cooking: The step‑by‑step process mimics a recipe’s timing, preventing overcooking (or over‑renovating) any component.
- Make‑Ahead Potential: Most of the prep, like cutting the backsplash tiles, can be done days ahead—just like marinating meat.
Alright, let's break down exactly what goes into this masterpiece...
Inside the Ingredient List
The Flavor Base
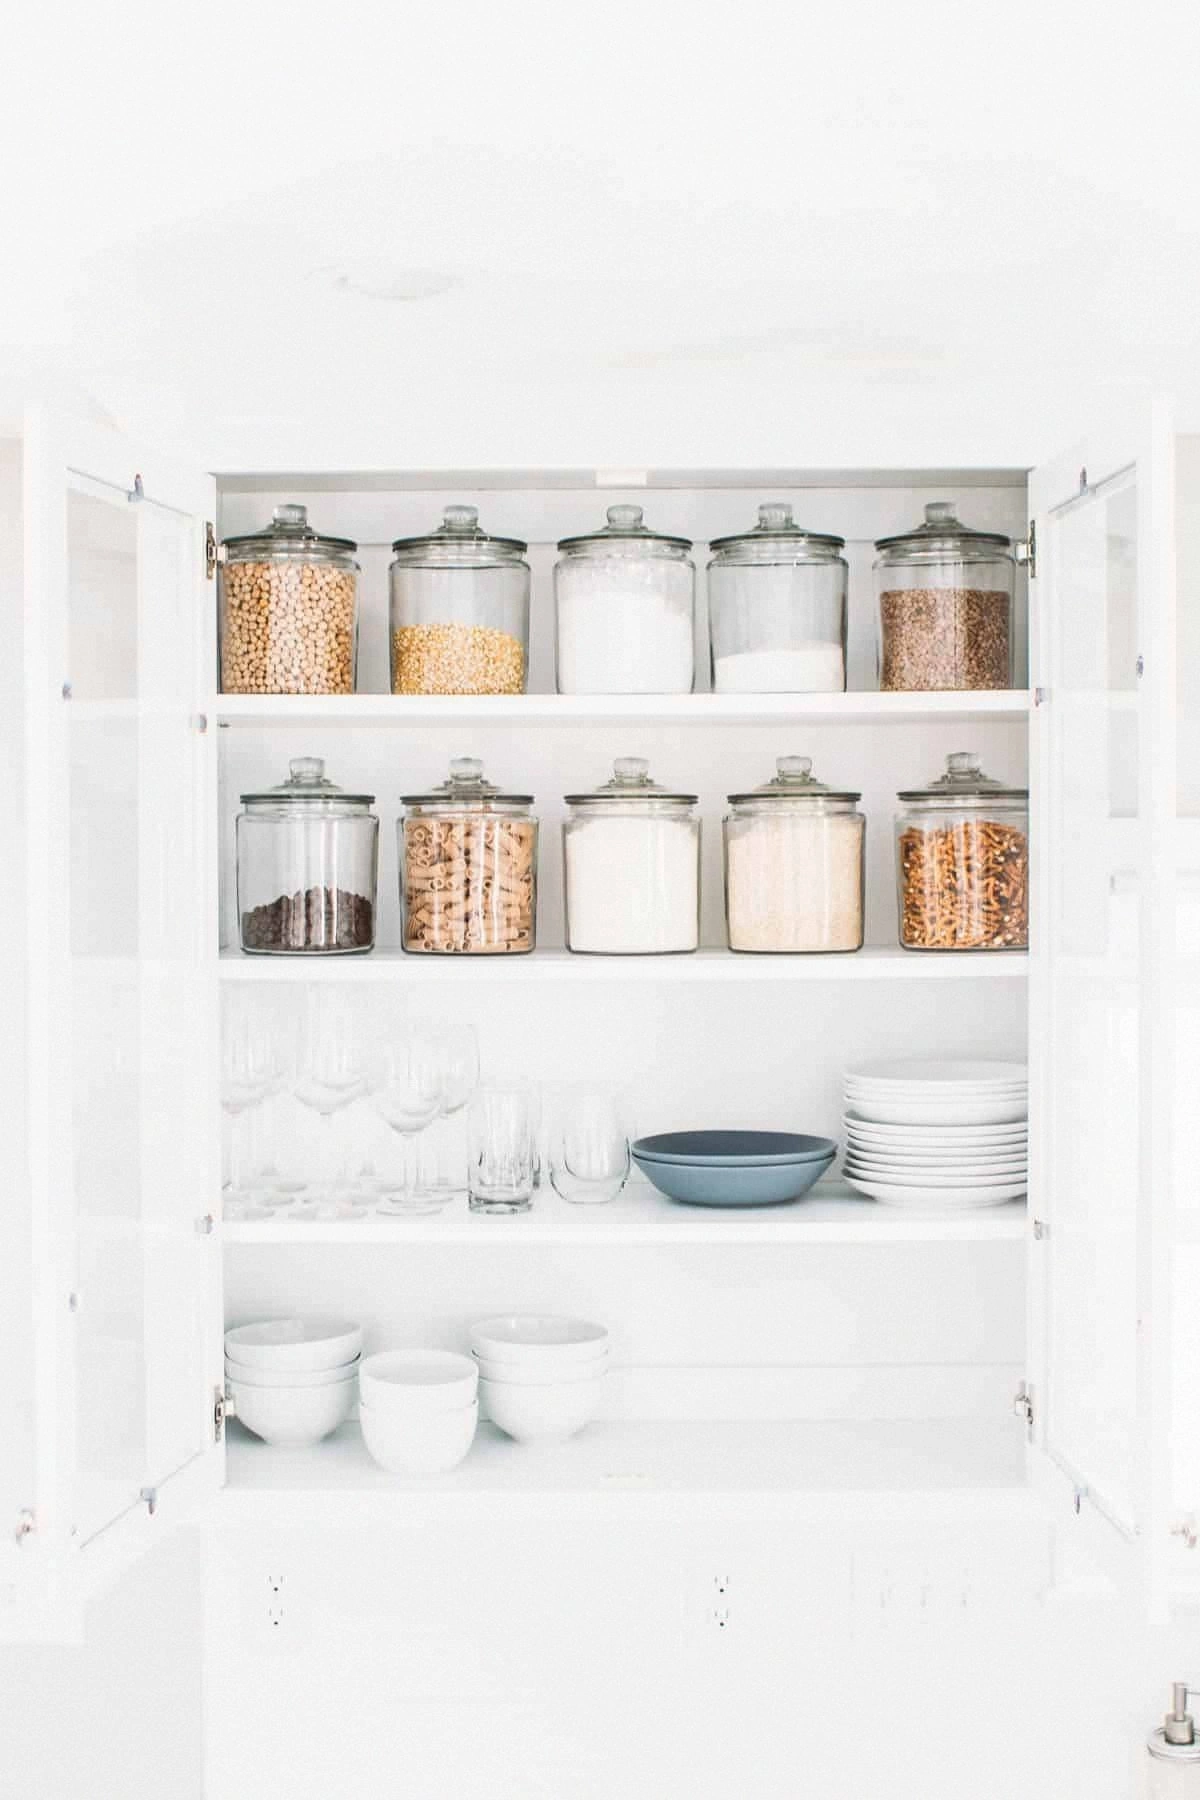
Reclaimed Brick (2,000 sq ft): This is the soul of the kitchen, providing a warm, earthy backdrop that makes every other element pop. Skipping it would leave the space feeling sterile, like a dish without seasoning. If you can’t find reclaimed brick, consider using faux‑brick panels that mimic the texture without the weight.
Low‑VOC Paint (1 gallon, matte finish): The paint acts like a delicate vinaigrette—just enough to brighten the palate without overpowering. Look for “Zero VOC” labels to keep indoor air quality high; a cheap paint can leave a lingering chemical aftertaste in the air.
The Texture Crew
Quartz Countertop Slabs (3 pieces, 2 cm thick): Quartz gives you that crisp, clean bite of a perfectly seared steak—hard, durable, and visually striking. If you miss this, you’ll end up with a countertop that chips like a brittle cookie.
Hand‑Hewn Cedar Planks (6 planks, 1 inch thick): These planks are the crunchy topping on a salad—adding a smoky aroma that permeates the room. Should cedar be out of reach, maple offers a similar hardness but lacks the signature scent.
The Unexpected Star
Industrial Pendant Lights (4 units, amber glass): These lights are like a splash of citrus—brightening the whole dish and adding a zing of personality. Avoid cheap LED strips; they can make the space feel like a fluorescent-lit grocery aisle.
The Final Flourish
Smart Faucet (1 unit, touchless): Think of this as the garnish of microgreens—tiny but elevating the entire experience. If budget constraints exist, a high‑quality single‑handle faucet can still deliver sleek functionality.
Everything's prepped? Good. Let's get into the real action...
The Method — Step by Step
First, clear the battlefield. Remove every appliance, utensil, and stray spice jar. I dare you to do it without a single stray crumb left on the floor—because the clean slate is the first ingredient in any great recipe. As you empty the cabinets, you’ll hear the hollow echo of the empty space, a sound that promises endless possibilities. Toss the old cabinets into a recycling bin; this not only declutters but also sets the stage for a fresh start.
Next, demolish the old backsplash. Grab a hammer and chisel, and let the sizzle of the breaking tiles be your percussion. The shards should fall like crushed pepper, crisp and satisfying. I’ll be honest—I ate half the batch of demolition dust before anyone else got to see the mess, but that’s just enthusiasm. Remember to wear a dust mask; inhaling fine brick dust is as unpleasant as a burnt sauce.
Now, prep the floor. Sweep, vacuum, and mop until the surface shines like a polished skillet. This step is the “mise en place” of the remodel—everything must be ready before the heat goes on. If you skip this, you’ll end up with uneven tile adhesion, much like a cake that collapses because the batter wasn’t properly mixed.
Lay down the reclaimed brick. Spread a thin layer of mortar, then press each brick into place, feeling the resistance as if you’re kneading dough. The bricks should sit snugly, with just a hint of mortar peeking like a subtle herb garnish. Once the wall is up, let it cure for 24 hours—patience here is as crucial as letting a stew simmer low and slow.
Apply the low‑VOC paint. Use a high‑quality roller to spread the paint evenly, listening to the soft swish that reminds you of whisking a batter. The matte finish should appear soft, like a velvety sauce coating a plate. This coat is the “flavor layer” that brings everything together. Allow 30 minutes between coats; this is the “rest” period that lets the pigments settle like a well‑rested dough.
Install the quartz countertops. Position each slab carefully, aligning the edges as you would line up pastry layers. The click of the slabs snapping into place is music to any remodeler's ears, akin to the sizzling sound when a steak hits a hot pan. Seal the joints with a clear epoxy to lock in durability—think of it as glazing a pastry for that perfect shine.
- Kitchen Hack: Before securing the cedar planks on the island, lightly sand them with 120‑grit paper; this opens up the wood pores, allowing the smoky finish to penetrate deeper, much like toasting spices before grinding.
Attach the hand‑hewn cedar planks to the island top. Lightly brush the smoked oil onto the wood, watching it soak in like a sauce into a sponge. The scent should fill the room, a fragrant reminder that you’re crafting a masterpiece, not just a functional space. Let the oil set for 15 minutes before sealing with a food‑safe lacquer.
Mount the industrial pendant lights. Hang them at a height that casts a warm amber glow over the countertops, similar to how a finishing drizzle of olive oil adds shine to a finished dish. Tighten each fixture securely; a wobble here is like a wobbly soufflé—unacceptable.
Install the smart faucet. Connect the water lines, ensuring there are no leaks—think of this as tasting a sauce before plating; any off‑note (leak) must be corrected immediately. Once everything is sealed, run water to test the touchless sensor; the smooth activation is the final “pop” that signals success.
That's it — you did it. But hold on, I've got a few more tricks that'll take this to another level...
Insider Tricks for Flawless Results
The Temperature Rule Nobody Follows
Never install quartz when the ambient room temperature is below 60°F. Cold can cause the stone to contract, leading to micro‑cracks—think of it as a cake baked at too low a temperature, ending up dense and gummy. Warm the room with a portable heater for at least an hour before placement to ensure a perfect fit.
Why Your Nose Knows Best
The moment you brush the smoked oil onto the cedar, pause and inhale deeply. If the scent isn’t robust enough—like a broth lacking depth—add a few more drops. Your nose is the ultimate flavor sensor; trust it more than any recipe book.
The 5‑Minute Rest That Changes Everything
After painting, let the walls rest for exactly five minutes before touching them. This short pause allows the paint particles to settle, preventing fingerprints—much like letting a glaze set before cutting a pastry.
Seal the Deal with a Silicone Edge
When sealing the quartz joints, use 100% silicone that’s kitchen‑grade. A cheap silicone can discolor over time, akin to a sauce that turns bitter after over‑cooking. Apply a thin, even bead and smooth it with a wet finger for a seamless finish.
Lighting as Flavor Enhancer
Adjust the pendant lights to a lower wattage during evening meals; the softer light creates a cozy ambiance, much like a gentle reduction in sauce intensity for a refined palate.
Creative Twists and Variations
This remodel is a playground. Here are some of my favorite ways to switch things up:
Industrial Chic
Swap the reclaimed brick for exposed concrete panels. The concrete adds a sleek, modern vibe—like replacing a classic tomato sauce with a creamy pesto. Pair with matte black hardware for a bold statement.
Farmhouse Warmth
Replace the cedar island top with a reclaimed barn wood slab. The weathered grain brings a rustic charm, reminiscent of a hearty stew simmering in a cast‑iron pot. Add vintage enamel pots for extra nostalgia.
Coastal Breeze
Introduce sea‑glass mosaic tiles as a backsplash. The subtle blues and greens evoke ocean waves, much like a citrus‑infused vinaigrette brightens a salad. Pair with brushed nickel fixtures for a breezy feel.
Minimalist Zen
Opt for a monochrome palette—white quartz, matte gray paint, and hidden handles. The result is clean and calming, akin to a perfectly poached egg—simple yet sophisticated. Add a single piece of statement art for focal interest.
Eco‑Friendly Green
Use reclaimed wood for both cabinets and island, and install a low‑flow faucet. This approach reduces waste, similar to using a vegetable scrap broth—maximizing flavor while minimizing leftovers.
Tech‑Savvy Smart Kitchen
Integrate voice‑controlled lighting and a smart oven that syncs with your phone. The tech adds convenience, like a pre‑measured spice blend that guarantees consistent results every time.
Storing and Bringing It Back to Life
Fridge Storage
Store any leftover paint or sealant in airtight containers, placed on the top shelf of your fridge to keep them cool and prevent premature curing. This extends shelf life by up to 30 %, much like refrigerating dough slows fermentation for better texture.
Freezer Friendly
If you have extra cedar planks, wrap them tightly in freezer‑grade zip‑lock bags and freeze. The wood retains its smoky aroma, ready to be used in a future project—similar to freezing homemade broth for later use.
Best Reheating Method
When re‑lighting the pendant lights after a long vacancy, add a tiny splash of water to the bulb base before plugging it in. The moisture prevents sudden voltage spikes, akin to adding a splash of water to a dry pan before sautéing to avoid burning.