Love this? Pin it for later! 📌
After months of testing (and more ramekins than I care to admit), I've perfected a recipe that delivers restaurant-quality results every single time. These individual chocolate lava cakes have become my go-to for dinner parties, date nights, and even those "I need chocolate NOW" emergencies. The best part? They take less than 20 minutes from start to finish, making them perfect for when you want to impress without the stress.
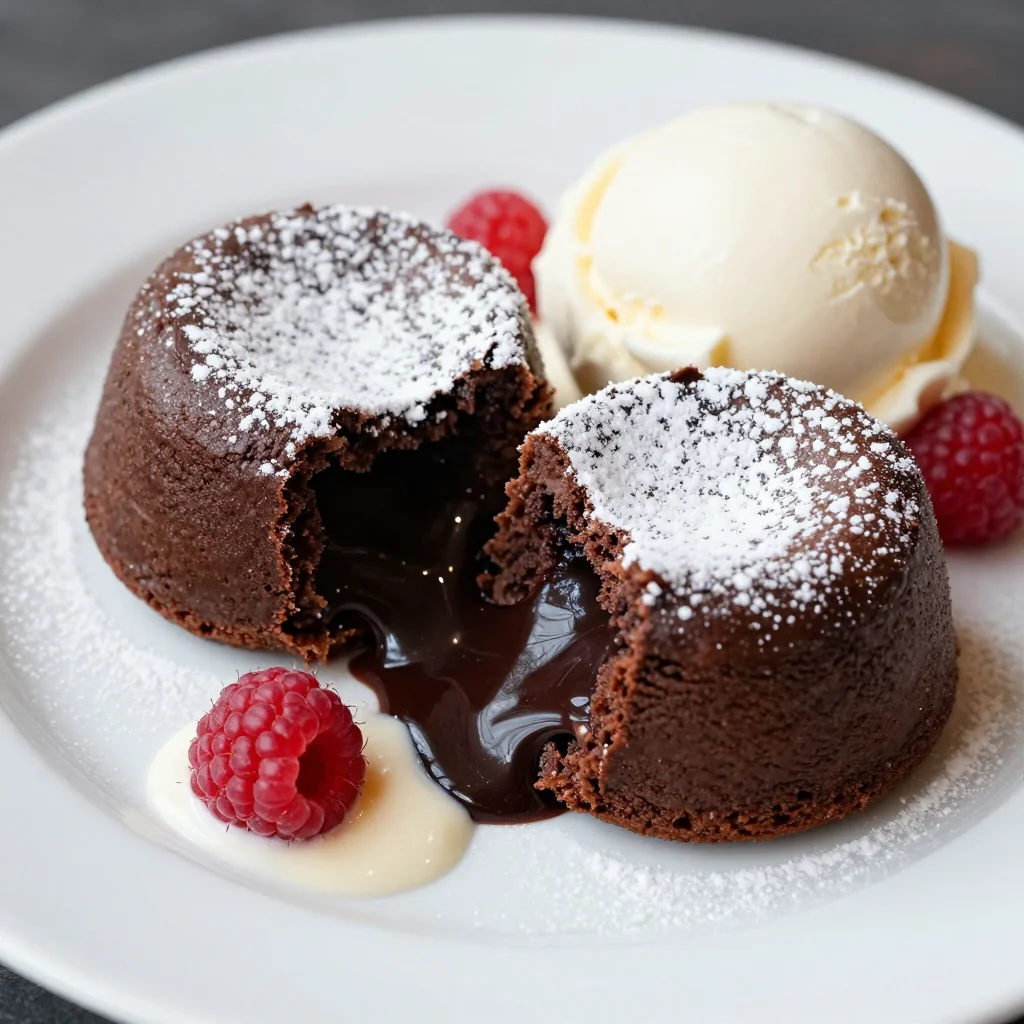
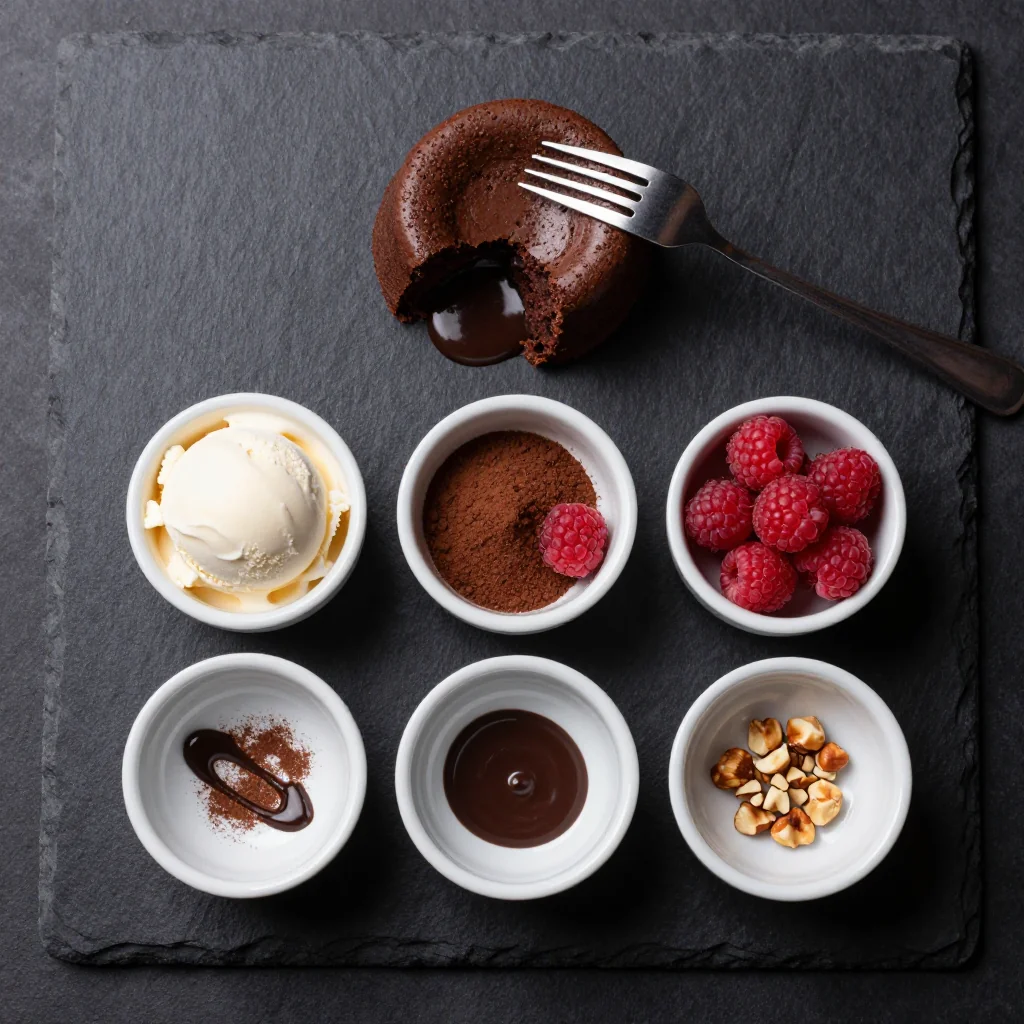
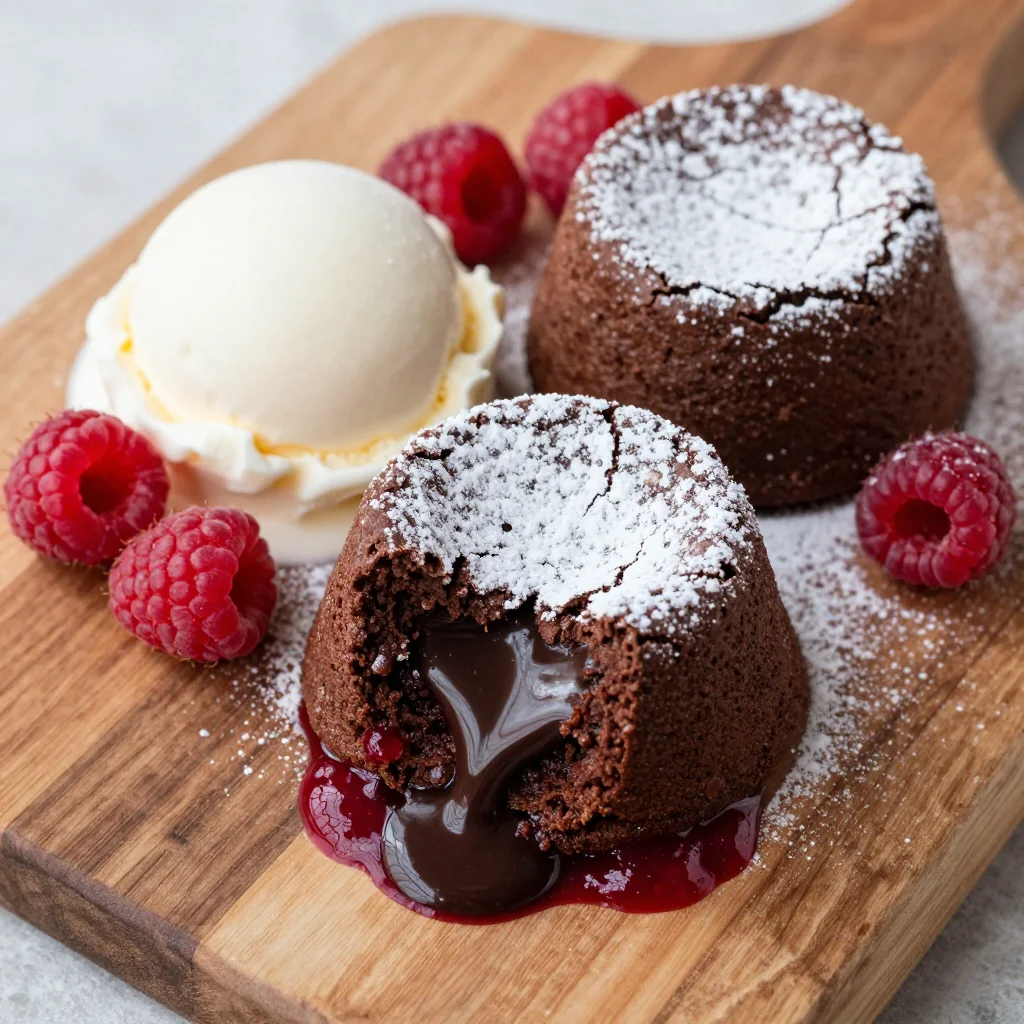
What makes this recipe special is the precise ratio of chocolate to butter, creating that perfect balance between structure and flow. The cakes emerge from the oven with a barely set exterior that gives way to a river of warm, dark chocolate. Serve them with a dusting of powdered sugar, a scoop of vanilla ice cream, or simply as-is – they're guaranteed to make any occasion feel extraordinary.
Why This Recipe Works
- Perfect Texture Every Time: The precise chocolate-to-butter ratio ensures a molten center while maintaining structural integrity
- Make-Ahead Friendly: Prepare and refrigerate up to 24 hours before baking – perfect for entertaining
- Quick & Impressive: From pantry to plate in under 20 minutes, making weeknight desserts feel special
- Customizable: Easily adaptable with different chocolates, liqueurs, or surprise centers
- Freezer Friendly: Batch prepare and freeze for up to 3 months for instant dessert gratification
- Restaurant Quality: Professional pastry chef techniques made accessible for home bakers
- Minimal Equipment: No stand mixer or special tools required – just ramekins and a whisk
Ingredients You'll Need
The secret to exceptional chocolate lava cakes lies in the quality of your ingredients. Each component plays a crucial role in creating that perfect balance of rich chocolate flavor and molten texture. I've tested this recipe with everything from grocery store staples to premium artisanal products, and while you can achieve great results with basic ingredients, a few key upgrades will elevate your cakes from delicious to unforgettable.
For the chocolate, I strongly recommend using bittersweet chocolate with at least 60% cacao content. My personal favorite is Valrhona 70% Guanaja for its complex fruity notes, but Callebaut 60% or even Ghirardelli 60% work beautifully. Avoid using chocolate chips, as they contain stabilizers that prevent proper melting. The butter should be European-style with higher fat content (82% versus 80% in standard butter) for richer flavor and better texture.
Eggs provide structure to the cakes, and I use large eggs at room temperature for even incorporation. The egg yolks add richness and help create that luxurious molten center. Granulated sugar sweetens the batter and contributes to the cake's structure, while a pinch of espresso powder intensifies the chocolate flavor without making the cakes taste like coffee.
All-purpose flour provides just enough structure to hold the cakes together. Too much flour creates a cakey texture rather than the desired molten center. A touch of salt balances the sweetness and enhances the chocolate flavor. For the vanilla, use pure vanilla extract rather than imitation – the difference in flavor is remarkable in such a simple dessert.
Butter for greasing the ramekins is crucial for easy release. I use a combination of butter and cocoa powder rather than flour to prevent any white residue on the finished cakes. The cocoa powder should be Dutch-processed for the best flavor and color.
How to Make Indulgent Chocolate Lava Cakes for a Warm Dessert
Prepare Your Ramekins
Generously butter four 6-ounce ramekins with softened butter, making sure to coat every ridge and corner. Dust with cocoa powder, tapping out the excess. This ensures your lava cakes will release perfectly every time. Place the prepared ramekins on a baking sheet for easy transfer to and from the oven. Pro tip: Use a pastry brush for even butter coverage, and chill the ramekins for 5 minutes after buttering to set the butter before adding cocoa powder.
Melt Chocolate and Butter
Chop 6 ounces of bittersweet chocolate into small, even pieces. Place in a heatproof bowl with 6 tablespoons of butter. Set the bowl over a saucepan of barely simmering water, ensuring the bottom doesn't touch the water. Stir occasionally until melted and smooth. Remove from heat and let cool for 5 minutes. The mixture should be glossy and fluid but not hot. Alternatively, microwave in 30-second bursts, stirring between each interval until just melted.
Whisk Eggs and Sugar
In a separate bowl, whisk together 2 large eggs, 2 egg yolks, and 3 tablespoons of granulated sugar vigorously for about 2 minutes until pale, thick, and doubled in volume. The mixture should form a ribbon when you lift the whisk. This step incorporates air for a lighter texture. Add a pinch of espresso powder and 1/2 teaspoon vanilla extract, whisking to combine.
Combine Mixtures
Pour the melted chocolate mixture into the egg mixture, whisking constantly to prevent the eggs from scrambling. Start slowly, then increase speed as the mixture combines. The batter should be smooth, glossy, and homogenous. If you notice any bits of scrambled egg, strain the mixture through a fine-mesh sieve.
Add Flour and Salt
Sift 2 tablespoons of all-purpose flour and 1/8 teaspoon of salt over the chocolate mixture. Using a rubber spatula, gently fold until just combined. Be careful not to overmix – stop as soon as you no longer see dry flour. The batter should be thick enough to coat a spoon but still pourable.
Fill Ramekins
Divide the batter evenly among your prepared ramekins, filling each about 3/4 full. Gently tap each ramekin on the counter to release air bubbles and ensure even distribution. At this point, you can cover with plastic wrap and refrigerate for up to 24 hours, or freeze for up to 3 months. If chilling, add 2-3 minutes to the baking time.
Bake to Perfection
Preheat your oven to 425°F (220°C). Place the baking sheet with ramekins on the center rack. Bake for 12-14 minutes, or until the edges are firm but the centers jiggle slightly when gently shaken. The tops should look set and may have a few small cracks. Remember that ovens vary, so start checking at 11 minutes. Underbaking is better than overbaking – you can always return them to the oven if needed.
Unmold and Serve
Let the cakes rest for exactly 1 minute – no more, no less. This brief rest allows the sides to firm up while keeping the center molten. Run a thin, sharp knife around the edges to loosen, then invert each ramekin onto a serving plate. Gently lift the ramekin, and your lava cake should release beautifully. Dust with powdered sugar, add a scoop of vanilla ice cream, and serve immediately. The cakes will continue cooking from residual heat, so encourage your guests to break into them right away.
Expert Tips
Temperature Matters
Room temperature eggs incorporate more easily and create better texture. If you forgot to take them out early, place eggs in warm (not hot) water for 10 minutes before using.
Timing is Everything
Set a timer for 1 minute less than the minimum baking time. Check every 30 seconds after that. The difference between molten and overbaked can be just 60 seconds.
Baking Sheet Trick
Place your ramekins on a hot baking sheet rather than a cold one. Preheat the sheet in the oven, then carefully place ramekins on it. This jump-starts the cooking process for perfect centers.
Cold Ramekin Method
For extra insurance against sticking, chill buttered ramekins for 10 minutes before adding batter. The cold butter creates a better barrier between cake and ramekin.
Chocolate Quality
Splurge on good chocolate – it's the star ingredient. Cheap chocolate contains more fillers and less cocoa butter, resulting in grainy texture and waxy mouthfeel.
Serving Temperature
Serve on warm plates to prevent the molten centers from seizing up. Run plates under hot water, dry thoroughly, and your cakes will stay molten longer.
Variations to Try
Peppermint Patties
Add 1/4 teaspoon peppermint extract to the batter and place a miniature peppermint patty in the center before baking. Top with crushed candy canes for a festive touch.
Orange Chocolate
Replace vanilla with orange liqueur and add 1 teaspoon finely grated orange zest. Serve with candied orange peel and Grand Marnier whipped cream.
Mexican Spiced
Add 1/4 teaspoon each of cinnamon and cayenne pepper to the flour. Use Mexican chocolate if available, and serve with cinnamon ice cream.
Salted Caramel
Place a frozen caramel truffle in the center before baking. Sprinkle finished cakes with flaky sea salt and serve with salted caramel sauce.
Storage Tips
Refrigerator Storage
Prepare cakes up to 24 hours in advance and refrigerate, covered. Add 2-3 minutes to baking time. Once baked, cakes are best served immediately and don't store well.
Freezer Method
After filling ramekins, wrap tightly and freeze for up to 3 months. Bake from frozen at 400°F for 16-18 minutes. Don't thaw before baking.
Reheating
If you must reheat (though not recommended), microwave individual cakes for 10-15 seconds. They won't be molten but will still taste delicious.
Batch Preparation
Double or triple the recipe and freeze extra ramekins. Having ready-to-bake lava cakes in the freezer means you're always 20 minutes away from dessert heaven.
Frequently Asked Questions
The most common cause is overbaking. Every oven is different, so start checking at 11 minutes. The edges should be firm but the center should jiggle. Also, make sure your chocolate mixture wasn't too hot when adding eggs, as this can cause the cakes to set differently. If using frozen ramekins, add 3-4 minutes to baking time.
While ramekins give the most consistent results, you can use a standard muffin tin. Grease and flour 8 muffin cups, fill 3/4 full, and bake for 9-11 minutes. They're harder to unmold but taste identical. You can also use oven-safe coffee cups or small bowls, adjusting baking time based on size.
Be generous with the butter – don't miss any spots, especially the bottom edges. After buttering, chill the ramekins for 5 minutes before adding cocoa powder. Make sure to use cocoa powder, not flour. Also, don't let the cakes sit longer than 1 minute after baking before unmolding. If still sticking, use a thin, flexible knife to loosen completely around the edges.
Milk chocolate will work but produces a much sweeter, less intense cake. Reduce sugar to 2 tablespoons and increase flour to 3 tablespoons to compensate for milk chocolate's higher sugar and lower cocoa content. The baking time may be slightly shorter since milk chocolate melts at a lower temperature.
The cakes are ready when the edges look firm and set, about 1/2 inch around the edges, while the center still jiggles when you gently shake the ramekin. The top should appear matte rather than wet and shiny. If there are a few small cracks around the edges, that's perfect. They will continue cooking slightly after removal from the oven.
Yes! Replace the all-purpose flour with 2 tablespoons of almond flour or 1 tablespoon of cornstarch. Both work well, though almond flour adds a subtle nutty flavor. I've also had success using a 1:1 gluten-free flour blend. The texture might be slightly different but still delicious.
Indulgent Chocolate Lava Cakes for a Warm Dessert
Ingredients
Instructions
- Prepare ramekins: Generously butter four 6-ounce ramekins. Dust with cocoa powder, tapping out excess. Place on baking sheet.
- Melt chocolate: Melt chocolate and butter in double boiler or microwave until smooth. Let cool 5 minutes.
- Mix eggs: Whisk eggs, egg yolks, and sugar until pale and thick, about 2 minutes. Add vanilla and espresso powder.
- Combine: Whisk chocolate mixture into egg mixture until smooth.
- Add flour: Fold in flour and salt until just combined.
- Bake: Divide batter among ramekins. Bake at 425°F for 12-14 minutes until edges are firm but centers jiggle.
- Serve: Let rest 1 minute, then invert onto plates. Dust with powdered sugar and serve immediately.
Recipe Notes
For make-ahead: Prepare through step 6, cover and refrigerate up to 24 hours. Add 2-3 minutes to baking time. For frozen: Prepare through step 6, wrap tightly and freeze up to 3 months. Bake from frozen at 400°F for 16-18 minutes.