I was standing in my kitchen, staring at a half‑cooked pizza dough that had somehow turned into a sad, soggy mess. The pizza sauce had slithered off the dough like a rogue snake, the cheese had melted into a gooey puddle, and my confidence had dipped lower than the crust. I laughed, because I knew that if I could rescue that disaster, I could rescue any pizza disaster. That moment sparked a mission: to create a protein‑packed, oven‑ready snack that would turn any pizza mishap into a triumph.
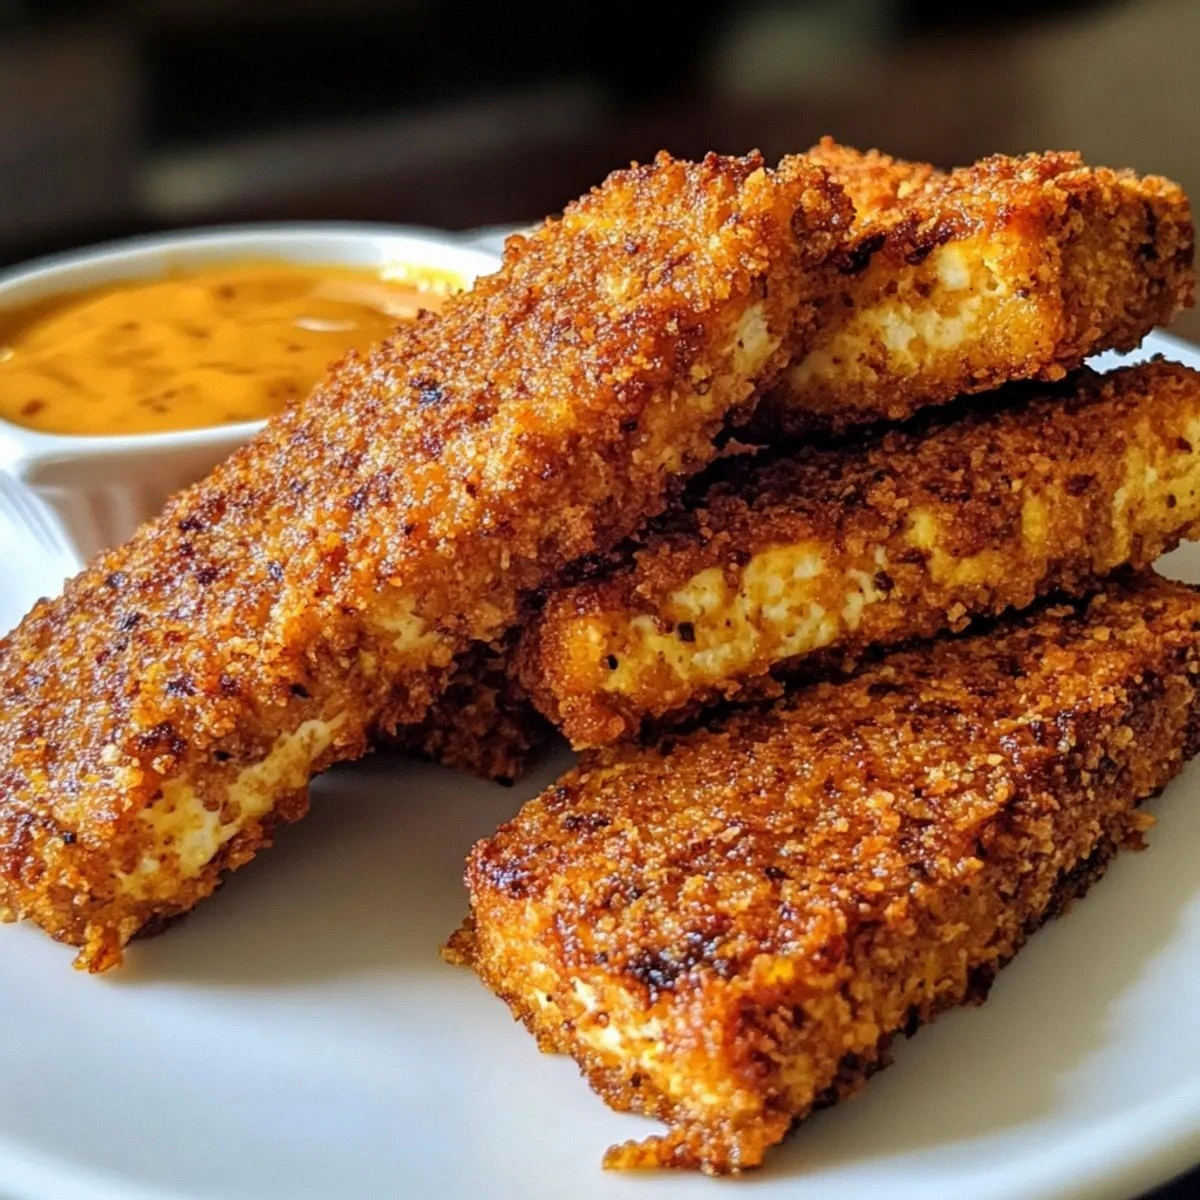
Imagine biting into a pocket that crackles like a crisp autumn leaf, then releasing a burst of tangy sauce and molten mozzarella that coats your tongue like velvet. The aroma is a savory symphony—sweet tomato, herbal Italian seasoning, and the faint, comforting scent of fresh yogurt. The texture is a delightful contrast: a golden, flaky crust that gives way to a silky, cheesy filling. The first bite is a revelation, and the second one? I dare you to taste this and not go back for seconds.
This isn’t just another pizza pocket recipe. It’s a high‑protein, low‑carb, gluten‑free (optional) marvel that outshines the usual greasy takeout. The secret lies in the combination of Greek yogurt and baking powder, which lift the dough into a light, airy shell that still holds the filling without becoming soggy. The sauce is thickened with a dash of flour, creating a silky coating that clings to the cheese without drowning it. It’s the kind of recipe that makes you question why you ever settled for store‑bought frozen pizza.
Picture yourself pulling these golden pockets out of the oven, the kitchen smelling incredible, the steam rising like a miniature cloud of pizza heaven. The edges are perfectly crisp, the interior is a molten cheese river, and the sauce is so flavorful it could be served on its own. Even the healthiest of friends will be begging for the recipe. I’ll be honest— I ate half the batch before anyone else got to try it. If you’ve ever struggled with pizza pockets that fall apart or taste like cardboard, you’re not alone — and I’ve got the fix.
The next part of this journey is pure magic. I’ll walk you through every single step, from whisking the dough to folding the pockets like a pro. By the end, you’ll wonder how you ever made it any other way. And trust me, the taste will be hands down the best version you’ll ever make at home. The trick? A few micro‑challenges that will test your skills, but the payoff is worth every second you invest.
So grab your apron, preheat the oven, and let’s get started. The adventure begins with a simple bowl, a handful of ingredients, and a willingness to experiment. If you’re ready to elevate your pizza game, keep reading because the next few pages are packed with secrets, hacks, and a recipe that will change how you think about pizza forever.
What Makes This Version Stand Out
I’ve spent years experimenting with dough, sauce, and cheese combinations, and this particular recipe is a revelation. It balances flavor, texture, and nutrition in a way that most other pizza pockets simply can’t match. Below are the key reasons you’ll love it.
- Flavor: The Greek yogurt base gives the dough a subtle tang that complements the savory sauce, creating a depth of flavor that feels both fresh and comforting.
- Texture: The inclusion of baking powder and a small amount of flour in the sauce turns a potentially soggy filling into a silky, melt‑in‑your‑mouth experience.
- Protein: With 25 g of protein per serving, these pockets are a lean, satisfying snack that keeps you full without the heaviness of traditional pizza.
- Convenience: The dough can be pre‑made and refrigerated, and the pockets can be frozen for a quick grab‑and‑go meal—perfect for busy weeknights.
- Customization: Swap the mozzarella for provolone, add pepperoni, or sprinkle some red pepper flakes and you’ve got an entirely new flavor profile.
- Make‑ahead Potential: These pockets hold up well in the fridge or freezer, making them ideal for meal prep or entertaining.
- All‑Day Appeal: Whether you’re a morning coffee companion or a late‑night snack, the pockets adapt to your mood.
- Visual Appeal: The golden crust and the glossy cheese pull make for a mouth‑watering presentation that’s Instagram‑ready.
Alright, let's break down exactly what goes into this masterpiece…
Inside the Ingredient List
Before we dive into the dough, let’s talk about what each ingredient does and why it matters. Knowing the role of each component will help you tweak the recipe to suit your taste or dietary needs.
The Flavor Base
Greek yogurt is the star of the show. Its creamy, tangy profile adds a subtle depth that balances the richness of the cheese and the acidity of the tomato sauce. If you’re dairy‑free, a plain oat yogurt works, but you’ll want to add a splash of lemon juice to mimic the tang. Skipping yogurt will make the dough flat and less flavorful.
The Texture Crew
All‑purpose flour is the backbone of the dough. It provides structure and helps the pockets hold their shape during baking. If you want a gluten‑free version, replace it with a 1:1 blend of rice flour and tapioca starch, but be careful—the texture will be slightly different. The baking powder is the leavening agent that creates pockets of air, giving the crust a light, airy feel.
The Unexpected Star
Italian seasoning and garlic powder might seem ordinary, but they elevate the sauce to a gourmet level. The blend of oregano, basil, thyme, and rosemary offers a fragrant bouquet that dances on the palate. If you’re a spice enthusiast, add a pinch of red pepper flakes for a subtle kick.
The Final Flourish
The mozzarella is the molten heart of the pocket. It melts into a silky, stretchy layer that clings to every corner. For a sharper flavor, try part mozzarella with part provolone or add a sprinkle of grated parmesan before baking. Salt ties everything together, enhancing each component without overpowering them.
Everything's prepped? Good. Let's get into the real action…

The Method — Step by Step
The process is straightforward, but each step is crucial for achieving that perfect balance of crispy crust and gooey filling. Follow along, and you’ll have a batch of pockets that will impress even the most skeptical palate.
- In a large mixing bowl, combine the Greek yogurt, all‑purpose flour, baking powder, Italian seasoning, garlic powder, and salt. Stir until a sticky dough forms. The dough should feel tacky but not overly wet; if it’s too dry, add a tablespoon of water or more yogurt. Let it rest for 10 minutes—this allows the flour to hydrate and the dough to relax.
- While the dough rests, prepare the filling. In a saucepan, heat the pizza sauce over medium heat until it thickens slightly. Stir in the mozzarella cheese until it melts into a smooth, glossy mixture. Keep the sauce warm; a cold sauce will cause the pockets to become soggy.
- Preheat your oven to 200 °C (400 °F). Line a baking sheet with a silicone mat or parchment paper. This step is critical for preventing sticking and ensuring even browning.
- On a lightly floured surface, roll the dough into a rectangle about 1 cm thick. Cut the rectangle into 12 equal squares. Each square will become one pocket. If the dough is sticky, dust the surface with a little flour.
- Place a spoonful of the cheese sauce onto the center of each dough square. Leave a small border around the edges to seal the pocket later. The filling should be thick enough to stay in place, but not so thick that it spills over.
- Fold the dough over the filling to form a triangle or square, depending on your preference. Press the edges together and seal them with a fork or by pinching them. The seal is essential to prevent the sauce from leaking during baking.
- Place the pockets on the prepared baking sheet, leaving a little space between each. Brush the tops with a little extra yogurt or beaten egg for a glossy finish. This step is the trickiest—if you don’t seal the edges well, the pockets will burst open.
- Bake for 20–25 minutes, or until the pockets are golden brown and the cheese is bubbling. The edges should look crisp and slightly puffed. When you lift a pocket, you should hear a satisfying crackle—like thin ice shattering.
- Let the pockets cool on a rack for 5 minutes before serving. This rest allows the filling to set, preventing it from spilling when you bite. The pockets are now ready to devour.
- Serve hot, optionally with a side of extra sauce for dipping. For an extra burst of flavor, sprinkle fresh basil or oregano on top before serving. Enjoy the crispy, cheesy, and protein‑rich goodness.
That's it — you did it. But hold on, I've got a few more tricks that'll take this to another level. These insider tips will help you fine‑tune the texture, flavor, and convenience of your pockets.
Insider Tricks for Flawless Results
Even seasoned cooks can hit a snag when making pizza pockets. Below are the top tricks that will help you avoid common pitfalls and elevate the final product.
The Temperature Rule Nobody Follows
Many people bake at 180 °C, but that’s too low for a crisp crust. I always set my oven to 200 °C (400 °F) for a golden finish. If your oven runs hot, lower the temperature by 10 °C and add a few extra minutes to baking time. This small tweak ensures even browning without burning the edges.
Why Your Nose Knows Best
Trust your nose during the baking process. When the pockets are ready, the aroma should be savory and slightly caramelized. If the smell is more “raw dough,” the pockets need more time. A quick sniff can save you from a batch of undercooked pockets.
The 5‑Minute Rest That Changes Everything
After baking, let the pockets sit on a wire rack for exactly five minutes. This rest period allows the cheese to set, preventing a gooey mess when you bite. It also lets the crust firm up slightly, giving you that satisfying crunch.
Seal the Edges Like a Pro
Press the edges firmly with your fingers or a fork. A tight seal stops the sauce from leaking. If you’re a fan of a more rustic look, leave a small seam, but be prepared for a splash of sauce when you bite.
Keep It Fresh with a Quick Chill
If you’re not going to bake the pockets immediately, place them on a parchment sheet and refrigerate for up to 24 hours. The dough will firm up, making it easier to handle and shape. When you’re ready to bake, let them sit at room temperature for 15 minutes to regain some elasticity.
The Extra‑Cheesy Trick
For an extra gooey center, sprinkle a thin layer of shredded mozzarella over the sauce before sealing. The cheese melts into the sauce, creating a molten core that’s hard to resist. My friends swear it’s the best part of the pocket.
Creative Twists and Variations
This recipe is a playground. Here are some of my favorite ways to switch things up:
Pepperoni Power
Add a handful of sliced pepperoni to the sauce for a smoky, meaty kick. The pepperoni releases fat during baking, giving the pockets a richer flavor. This version is perfect for a game‑day snack.
Mediterranean Medley
Swap the mozzarella for feta and add olives, sun‑dried tomatoes, and a splash of olive oil. The salty feta pairs beautifully with the tangy yogurt base, creating a Mediterranean twist.
Spicy Sriracha Surprise
Stir a tablespoon of sriracha into the sauce for a fiery flavor. The heat is balanced by the coolness of the yogurt, making it an excellent palate cleanser after a heavy meal.
Veggie‑Loaded Delight
Add finely diced bell peppers, mushrooms, and spinach to the sauce. The veggies add a burst of color and nutrients, making the pockets a well‑rounded meal.
Cheesy Spinach Supreme
Blend fresh spinach into the sauce and top with a mix of mozzarella and cheddar. The spinach adds a subtle earthiness that pairs well with the sharp cheddar.
Breakfast Edition
Replace the mozzarella with a blend of cheddar and Swiss. Add a few cooked breakfast sausage crumbles or scrambled eggs to the filling. The pockets become a hearty breakfast that’s both portable and satisfying.
Storing and Bringing It Back to Life
Fridge Storage
Store uncooked pockets in an airtight container for up to 48 hours. For cooked pockets, place them on a parchment sheet and refrigerate for up to 3 days. When ready, reheat in a preheated oven at 190 °C for 10 minutes to restore crispness.
Freezer Friendly
Freeze uncooked pockets on a parchment sheet until solid, then transfer to a freezer bag. They can be stored for up to 3 months. When baking, add 5 minutes to the original time to account for the cold start.
Best Reheating Method
Reheat in a skillet over medium heat for 2–3 minutes on each side, or in a toaster oven at 200 °C for 5 minutes. Add a splash of water to the bottom of the pan to create steam, which keeps the filling moist and prevents it from drying out.