It was a rainy Tuesday, and the only thing I could think about was a comforting, umami-packed meal that could turn a soggy day into something worth bragging about. I stared at my pantry, feeling the familiar buzz of anticipation that only a well-stocked kitchen can ignite. That was the moment I decided to pull out the ingredients for a dish that I’d been craving for weeks: garlic mushrooms and cauliflower. I was determined to make it the best version I’d ever taste, and I knew I’d need to bring every element into alignment.
Picture this: a skillet sizzling with butter and olive oil, the aroma of garlic and thyme wafting up like a promise of comfort. The onions slice into translucent ribbons, their sweet scent mingling with the earthy fragrance of fresh mushrooms. As the cauliflower florets begin to brown, they release a subtle nutty flavor that deepens the dish’s complexity. Every sound—the gentle sizzle, the occasional pop as the cauliflower hits the pan—creates a sensory soundtrack that makes you feel like a culinary maestro.
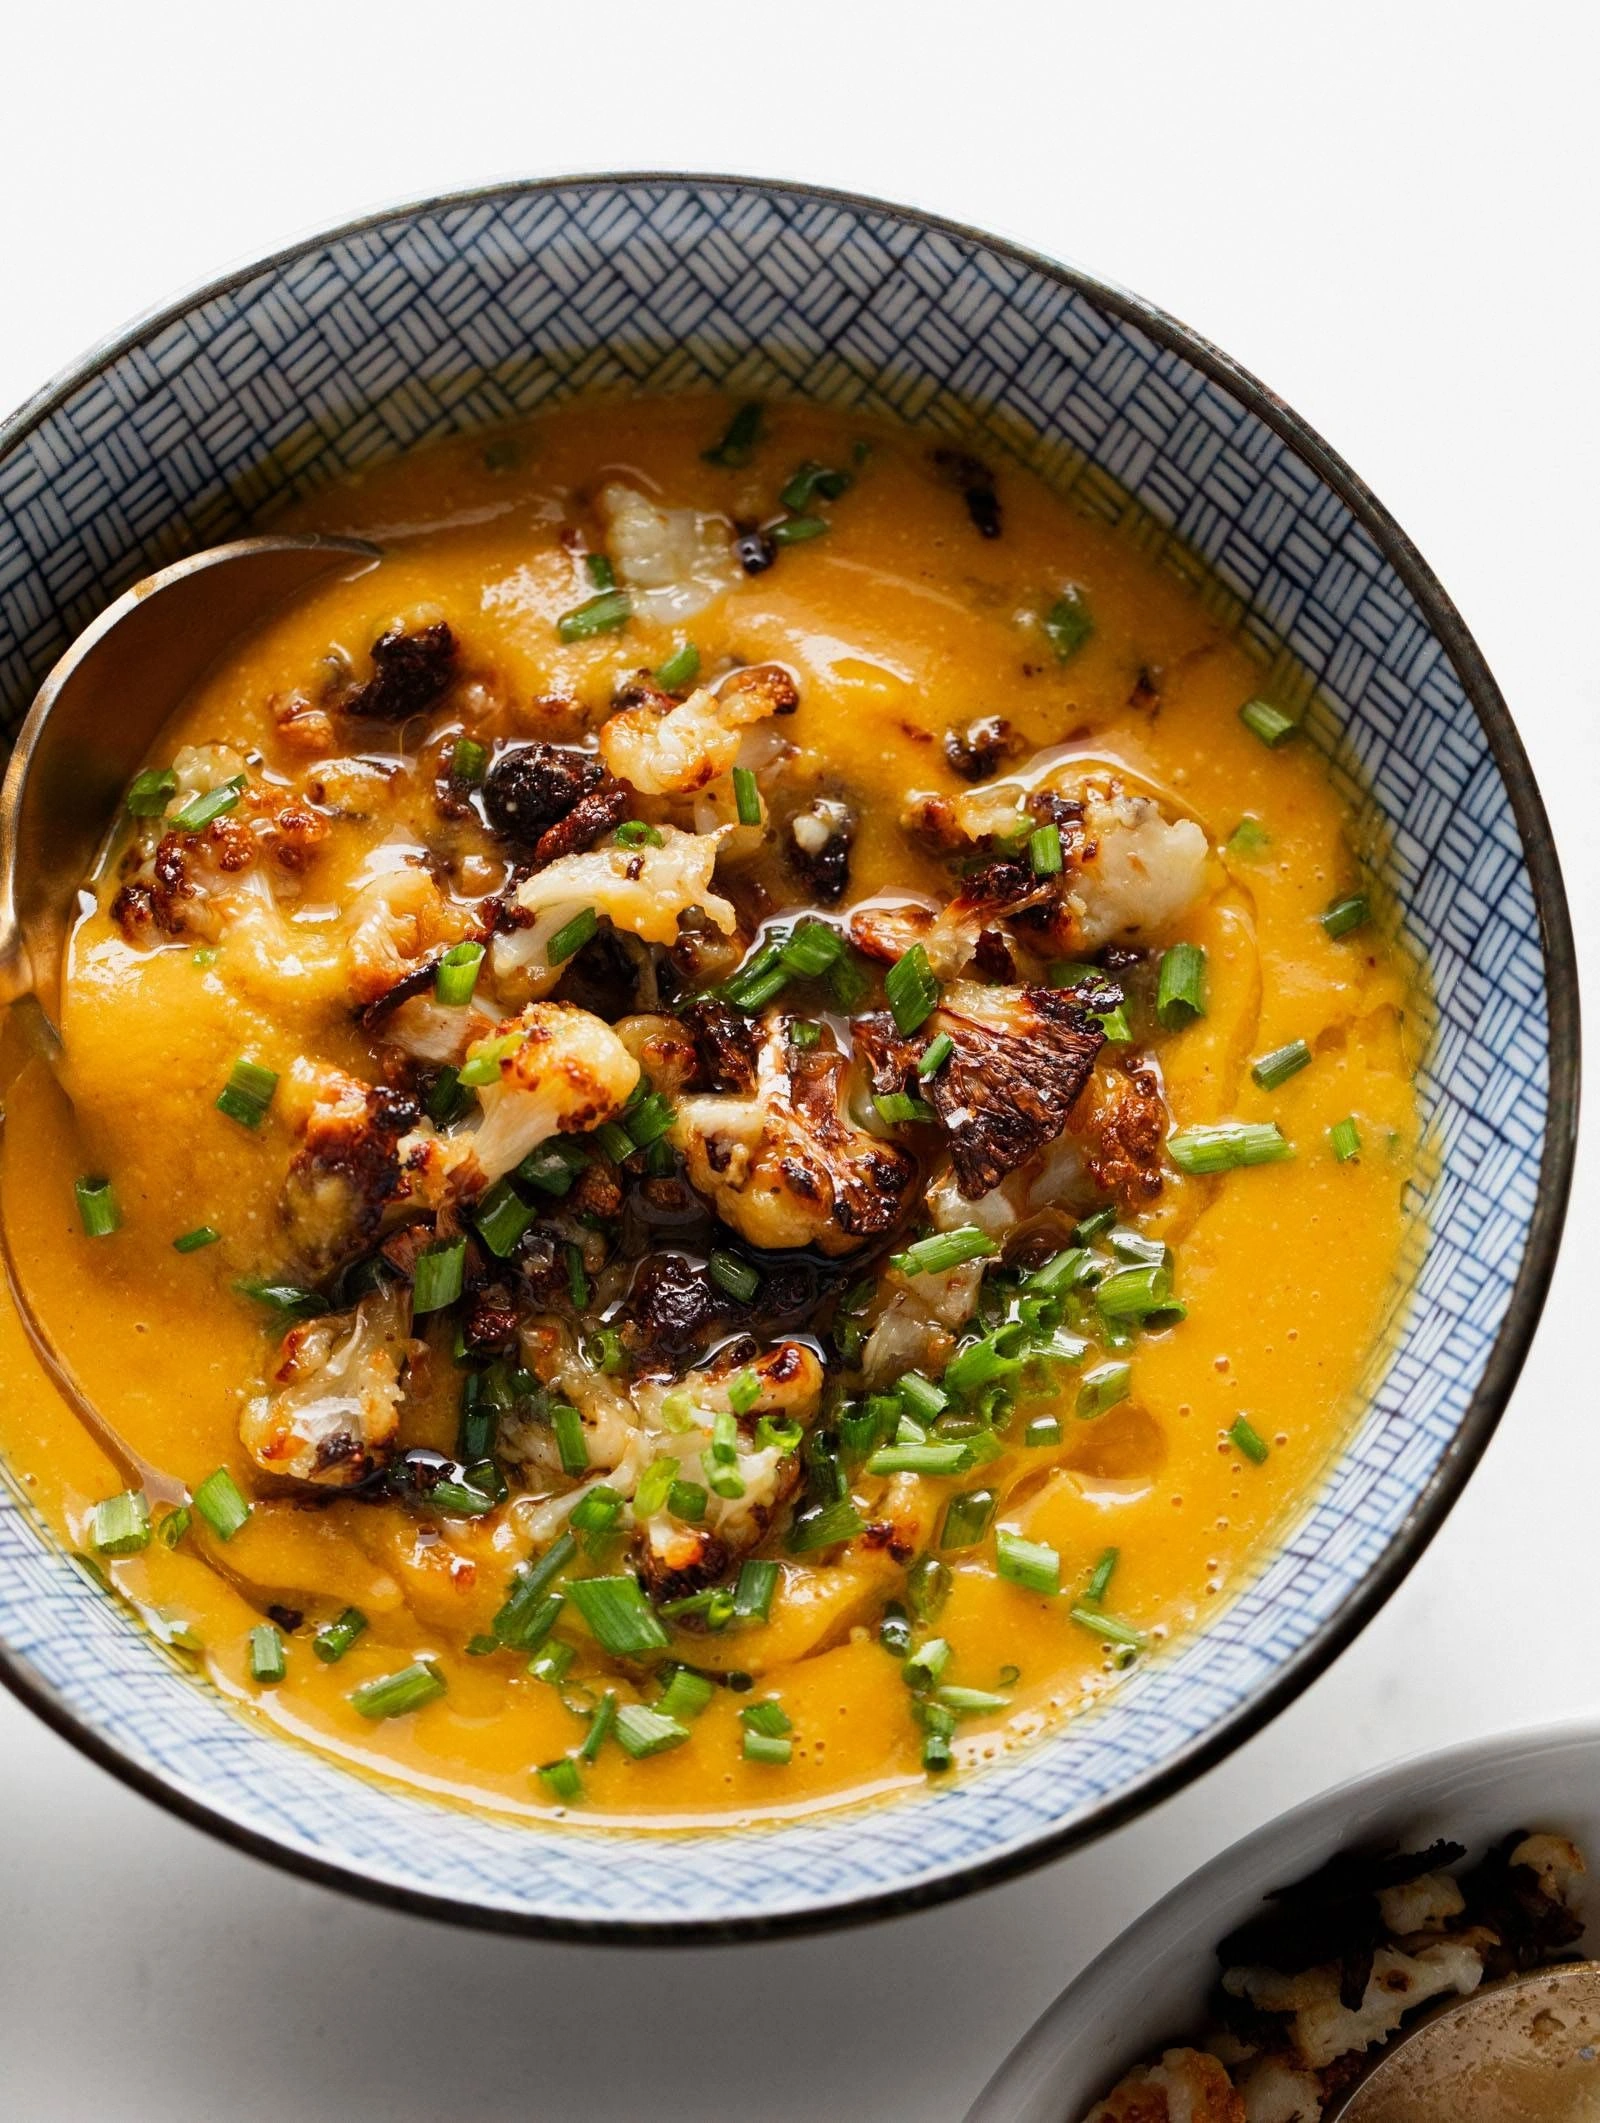
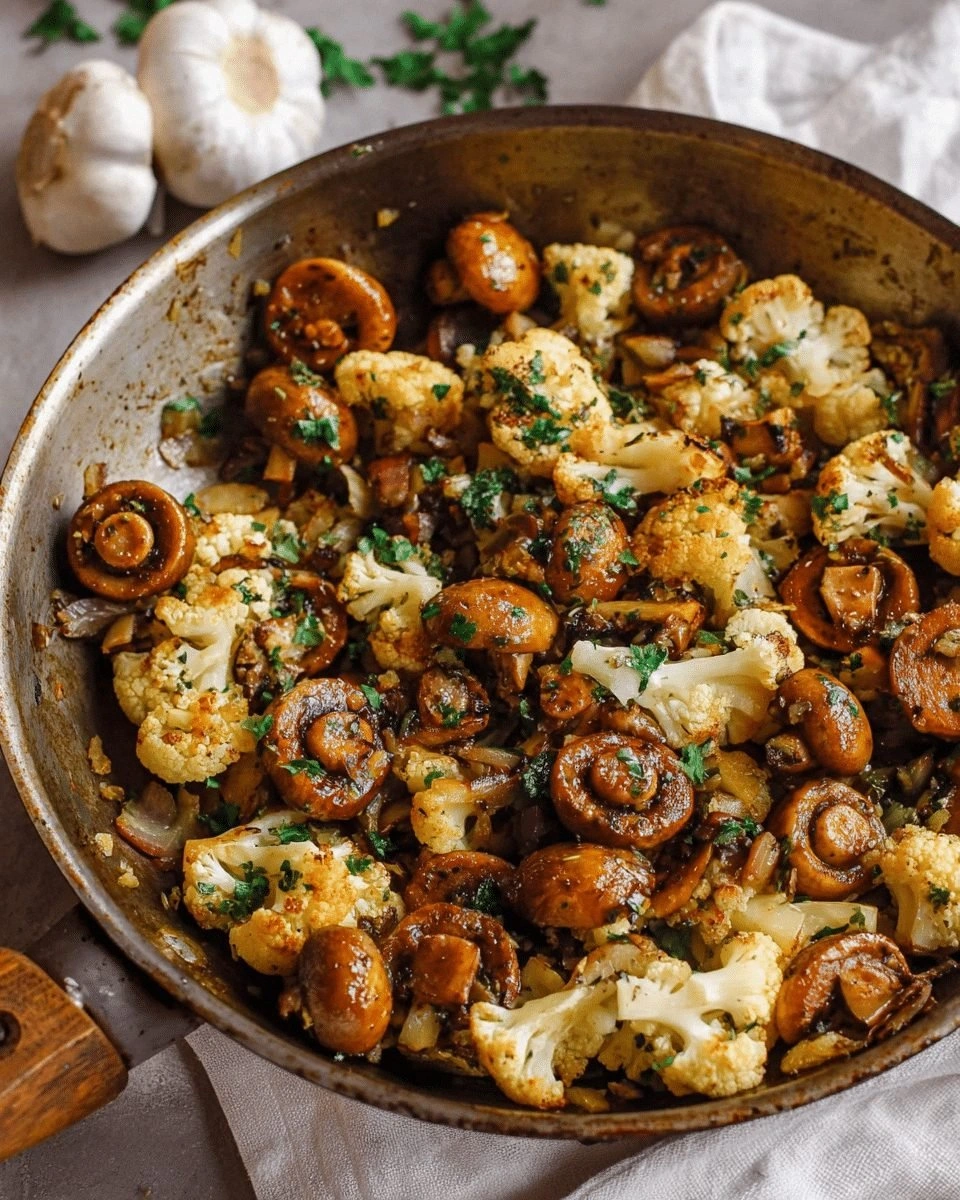
I’ve tasted countless variations of garlic mushrooms and cauliflower, but this one feels like a revelation. The sauce coats the veggies like velvet, turning each bite into a melt-in-your-mouth experience. The cauliflower gets that coveted caramelized edge that shatters like thin ice when you bite into it, while the mushrooms stay tender and juicy. I dare you to taste this and not go back for seconds; it’s a flavor explosion that will leave you begging for more.
The secret lies in a few simple, but powerful, techniques that elevate the dish from ordinary to unforgettable. By using a combination of butter and olive oil, I create a flavor base that’s richer than either alone. The low sodium vegetable stock adds depth without overpowering the natural umami of the mushrooms. And that final touch of fresh parsley and thyme gives the dish a bright, herbaceous finish that keeps it from feeling heavy.
What Makes This Version Stand Out
- Flavor Depth: The blend of butter and olive oil creates a layered, buttery richness that envelops every ingredient. The low sodium stock subtly enhances the earthiness of the mushrooms, while the fresh herbs lift the dish with a bright, green note.
- Texture Contrast: The cauliflower develops a caramelized crust that snaps delightfully when you bite, while the mushrooms remain silky and moist. This interplay of crisp and tender keeps each bite interesting.
- Ease of Prep: All ingredients are ready in under 15 minutes. The method is straightforward, making it perfect for busy weeknights or when you’re hosting a last‑minute dinner.
- Ingredient Quality: Using fresh, high‑quality produce—especially the mushrooms—makes the difference between a good dish and a great one. The butter’s rich flavor and the olive oil’s peppery kick are essential.
- Versatility: This skillet can double as a main dish, a side, or a protein‑free entrée for vegetarians. Swap the cauliflower for broccoli or add diced chicken for a protein boost.
- Crowd‑Pleaser: The aroma alone will have guests gathering around the kitchen. The dish is simple enough for beginners, yet sophisticated enough to impress seasoned cooks.
- Make‑Ahead Friendly: It reheats beautifully, and the flavors actually intensify after a day or two. Store leftovers in the fridge or freezer and enjoy them later.
- Minimal Cleanup: One pan, one pot, and a few utensils. The cleanup is almost as satisfying as the cooking process.
Inside the Ingredient List
The Flavor Base
Butter is the star of the flavor base, adding a creamy, nutty note that carries the garlic and herbs. Olive oil, though lighter, provides a peppery undertone that balances the richness of the butter. Together, they form a foundation that makes every bite feel indulgent without being greasy. If you’re looking to cut calories, you can swap half the butter for a plant‑based butter or even a splash of coconut oil for a subtle tropical twist.
The Texture Crew
The cauliflower, cut into bite‑size florets, is the vehicle that absorbs the sauce and carries the flavor. Its natural starch content helps it brown beautifully, creating that coveted caramelized edge. The mushrooms, cleaned and sliced, release their own juices that mingle with the butter, forming a luscious, slightly thickened sauce. The onions, chopped finely, provide a gentle sweetness that rounds out the dish. If you prefer a different vegetable, broccoli or Brussels sprouts work wonderfully.
The Unexpected Star
Low sodium vegetable stock is the unsung hero that brings depth without overwhelming the natural flavors. It’s a subtle umami boost that ties the dish together. A splash of white wine or a dash of soy sauce could replace the stock for a different profile, but the stock keeps the dish light and approachable. Remember, the key is to use something that enhances, not competes.
The Final Flourish
Fresh thyme leaves add a bright, slightly floral aroma that lifts the entire dish. Parsley, chopped, offers a clean, peppery finish that balances the richness of the butter. Garlic, minced, is the backbone of the dish; its sharpness cuts through the creaminess and adds depth. Salt and pepper, added to taste, are essential for seasoning but should be measured carefully to avoid overpowering the delicate flavors. If you’re watching sodium, a pinch of sea salt and freshly ground pepper suffice.
Everything's prepped? Good. Let's get into the real action...
The Method — Step by Step
- Heat a large skillet over medium heat and add 2 tablespoons of butter and 1 tablespoon of olive oil. Let the butter melt fully, swirling the pan so the oil coats the base. This combination creates a rich, buttery foundation that’s essential for the sauce. Watch the butter; once it starts to foam, it’s ready for the next step.
- Add the minced garlic and sauté for about 30 seconds, just until fragrant. Be careful not to burn it—garlic burns quickly and turns bitter. The aroma should be intense but not overpowering. This step is the moment of truth; it sets the flavor trajectory.
- Introduce the chopped onions, stirring until they become translucent, about 3-4 minutes. The onions add a subtle sweetness that balances the garlic’s sharpness. Keep the heat moderate so the onions don’t brown too quickly. A good rule: they should look like glassy ribbons.
- Add the cauliflower florets to the skillet, stirring to coat them in the butter-garlic mixture. Cook for 5 minutes, allowing the florets to develop a golden crust. Flip them occasionally so all sides caramelize evenly. The cauliflower should start to soften but still hold its shape.
- Next, add the sliced mushrooms. Stir to combine, then cover the skillet with a lid for 4 minutes. This traps steam, helping the mushrooms release moisture and become tender. The lid also prevents the cauliflower from drying out. Once the lid is removed, let the mixture simmer for an additional 3 minutes.
- Pour in the low sodium vegetable stock, then sprinkle in the thyme leaves. The stock will thin the sauce slightly and add depth. Let the mixture come to a gentle simmer; the sauce should thicken just enough to coat the vegetables. Taste and season with salt and pepper to your liking.
- Stir in the chopped parsley, letting the fresh herb release its aroma. The parsley adds a bright, peppery finish that lifts the dish. Remove the skillet from heat to prevent the parsley from wilting. The dish should look glossy and inviting.
- Serve immediately over rice, quinoa, or a bed of sautéed greens. If you’re feeling adventurous, sprinkle a handful of grated Parmesan or a drizzle of lemon juice for extra zing. This dish is best enjoyed hot, where the sauce is silky and the flavors are at their peak.
That's it— you did it. But hold on, I've got a few more tricks that'll take this to another level...
Insider Tricks for Flawless Results
The Temperature Rule Nobody Follows
Maintaining a consistent medium heat is crucial. If the pan gets too hot, the cauliflower will char before it softens, and the mushrooms will release too much water, creating a soggy sauce. Use a thermometer if you have one; 350°F is the sweet spot. If you don’t, feel the heat with your wrist; it should feel warm but not scorching.
Why Your Nose Knows Best
Smell the sauce as it simmers. A faint, sweet aroma indicates the onions are caramelizing just right. If the scent turns bitter, the garlic has burned. Trust your nose; it’s a reliable indicator of flavor development.
The 5-Minute Rest That Changes Everything
After removing the skillet from heat, let the dish rest for 5 minutes before serving. This allows the flavors to meld and the sauce to thicken slightly. The rest also gives the cauliflower time to finish cooking without overcooking the mushrooms.
The Right Knife Matters
Use a sharp chef’s knife for the mushrooms. A dull blade will crush the delicate caps, releasing too much moisture. A sharp knife keeps the mushrooms intact, preserving their texture and flavor.
Fresh Herbs Over Dried
Fresh thyme and parsley provide a bright, vibrant flavor that dried herbs simply can’t match. If you’re in a pinch, use half the amount of dried herbs and double the fresh. The fresher the herb, the more it can stand up to the buttery base.
Creative Twists and Variations
This recipe is a playground. Here are some of my favorite ways to switch things up:
Spicy Sriracha Splash
Add a teaspoon of sriracha during the last minute of cooking for a kick. The heat pairs beautifully with the buttery base, creating a balanced, bold flavor. Great for those who love a little heat.
Lemon‑Zest Brightness
Finish the dish with a squeeze of fresh lemon juice and a sprinkle of zest. The acidity cuts through the richness, giving the dish a fresh, vibrant finish. It also adds a bright color contrast.
Cheesy Creamy Finish
Stir in a handful of shredded mozzarella or goat cheese just before serving. The cheese melts into the sauce, creating a silky, indulgent texture. This variation turns the dish into a comfort‑food classic.
Protein Boost
Add diced chicken, shrimp, or tofu to the skillet after the cauliflower has browned. This turns the dish into a hearty, protein-packed meal. The protein absorbs the sauce, making each bite more satisfying.
Herb‑Infused Oil
Infuse the olive oil with rosemary and garlic before cooking. The oil carries the herb flavors into every bite, making the dish aromatic and flavorful. This technique is especially effective if you’re using a more neutral butter.
Mediterranean Twist
Swap the thyme for oregano and add a splash of white wine. The wine adds depth, while the oregano gives a Mediterranean vibe. Serve over couscous for a complete meal.
Storing and Bringing It Back to Life
Fridge Storage
Cool the dish completely before transferring it to an airtight container. Store in the refrigerator for up to 3 days. The flavors will deepen, and the cauliflower will retain its texture. Avoid storing for longer to prevent the sauce from separating.
Freezer Friendly
For longer storage, place the dish in a freezer‑safe container or zip‑lock bag. Freeze for up to 2 months. When ready to eat, thaw overnight in the refrigerator. The cauliflower may soften slightly, but the sauce will still be delicious.
Best Reheating Method
Reheat on the stovetop over medium heat, adding a splash of water or broth to prevent the sauce from drying out. Stir frequently until heated through. A quick microwave reheat works, but be sure to stir halfway to distribute heat evenly.